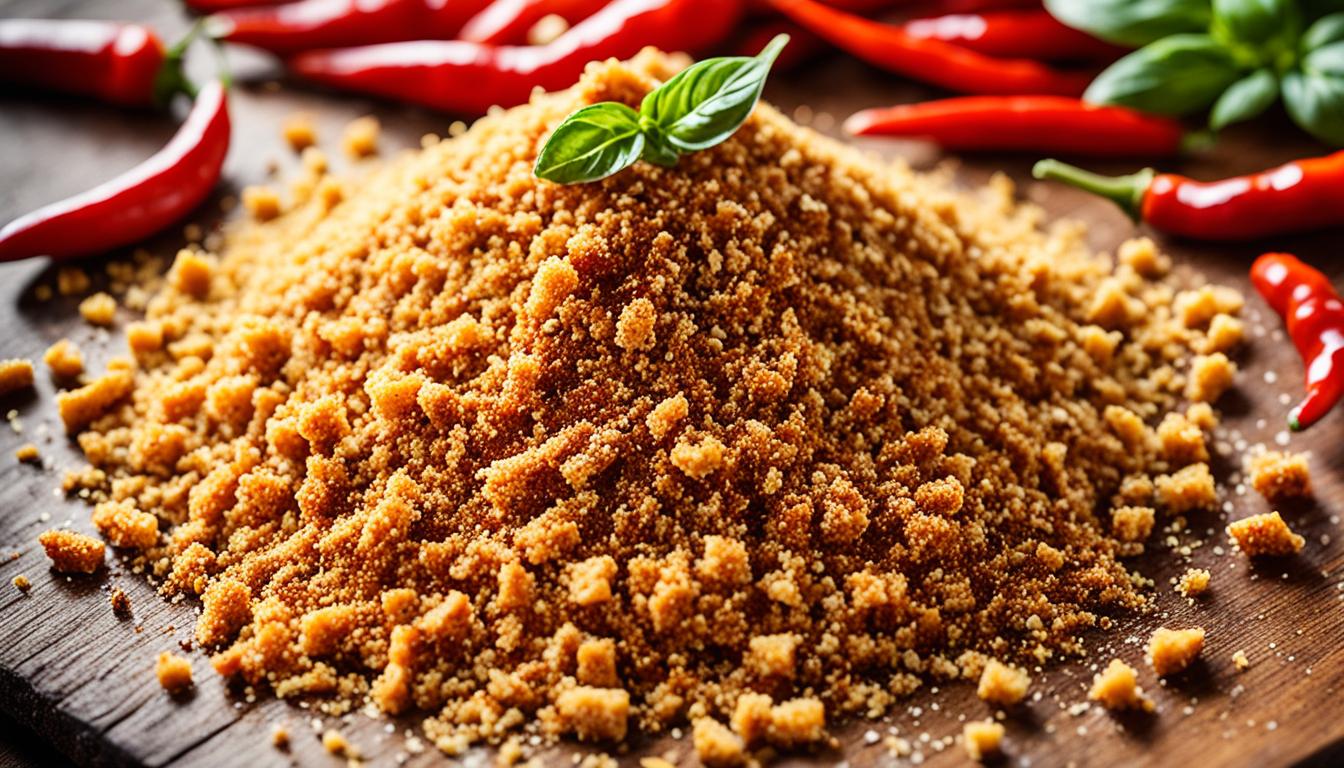
Are you guilty of throwing away stale bread as soon as it starts to lose its freshness? What if we told you that those seemingly useless slices can be transformed into something amazing? By learning how to make breadcrumbs at home, you’ll not only reduce food waste but also elevate your cooking to new heights.
Whether you have leftover artisan sourdough or a store-bought loaf, you can easily turn it into breadcrumbs. Our easy guide will show you the step-by-step process, from choosing the right bread to seasoning the breadcrumbs to perfection. Say goodbye to store-bought breadcrumbs packed with additives, and say hello to the satisfaction of making your own.
Ready to turn your stale bread into a culinary secret weapon? Let’s get started!
The Best Bread for Homemade Breadcrumbs
When making homemade breadcrumbs, you have the flexibility to use any type of bread, including gluten-free options. Bread for breadcrumbs can be sourced from artisanal loaves or store-bought bread, depending on your preference. However, certain considerations can help you achieve the best results.
If you opt for a bread variety with a tougher crust, such as sourdough, it is advisable to remove the crust before blending. This ensures that the types of bread for breadcrumbs you choose do not have any undesirable crunchy bits that may affect the final texture of your breadcrumbs.
While fresh bread can be used to make breadcrumbs, it is recommended to use day-old bread that is slightly stale. Stale bread works better due to its drier texture, which allows for easier blending and absorption of seasonings. However, if you only have fresh bread on hand, you can still use it by drying it out a bit. Simply toast the bread in a toaster or place it in a preheated oven for a few minutes until it becomes slightly dry. It’s essential to allow the bread to cool completely before blending it into breadcrumbs.
Making Breadcrumbs Without a Food Processor
If you don’t have a food processor on hand, don’t worry! There are alternative methods for making breadcrumbs that can still yield excellent results. Here are a few options:
1. Blender or Immersion Blender:
If you have a blender or an immersion blender, you can easily make breadcrumbs without a food processor. Start by cutting your bread into smaller cubes to make it easier to blend. Then, place the bread cubes in the blender or a deep container if using an immersion blender. Blend until you reach the desired consistency. This method may require a little more effort, but it’s still an effective way to make breadcrumbs.
2. Rolling Pin and Ziploc Bag:
Another alternative method is to use a rolling pin and a Ziploc bag. Simply cut your bread into smaller cubes and place them in the bag. Seal the bag tightly, ensuring there are no air pockets. Place the bag on a flat surface and use the rolling pin to crush the bread cubes until they resemble breadcrumbs. This method allows you to control the texture of the breadcrumbs and is a great option if you don’t have a blender or food processor.
Whichever method you choose, remember to use the same types of bread mentioned in our previous section to ensure the best results. Experiment with different bread varieties to add unique flavors and textures to your dishes.
Now that you know how to make breadcrumbs without a food processor, you have even more options to create delicious homemade breadcrumbs in your kitchen. Don’t let the absence of a food processor limit your culinary creativity!
Tips for Making Homemade Breadcrumbs
When it comes to making homemade breadcrumbs, there are a few expert tips that can help you achieve the best results. Here are some pro chef tips for making breadcrumbs:
1. Adjust the amount of breadcrumbs based on your recipe. Keep in mind that 1 cup of fresh breadcrumbs is equivalent to 1/2 cup of dried breadcrumbs. So, if a recipe calls for dried breadcrumbs, you can simply halve the amount if using fresh ones.
2. Freeze any excess breadcrumbs for future use. Breadcrumbs freeze well and can be stored in the freezer for up to 4 months. This way, you’ll always have breadcrumbs on hand whenever you need them for coating, binding, or adding a crunchy topping to your dishes.
3. Choose the right type of bread for your recipe. Different types of bread can add unique flavors and textures to your homemade breadcrumbs. For instance, using Italian flavored or plain bread works well for meatballs, while you might want to avoid using sweet bread. Experiment with different bread varieties to find the perfect match for your dish.
4. Store your breadcrumbs properly. Fresh breadcrumbs can be kept in the fridge for up to 1 week, while dried breadcrumbs can be stored in an airtight container in the cupboard for up to 2 weeks. This ensures that your breadcrumbs stay fresh and maintain their texture for future use.
5. Consider the texture of your breadcrumbs. Depending on your recipe, you may want to crush your breadcrumbs into finer crumbs or use a food processor for a finer texture. This will help you achieve the desired consistency and ensure that your breadcrumbs blend harmoniously with your dish.
By following these tips, you’ll be able to create homemade breadcrumbs that enhance your cooking and add that extra touch of flavor and texture to your favorite dishes.
