Are you tired of complicated bread recipes that require endless kneading and professional equipment? What if we told you there’s a way to make homemade artisan bread with minimal effort and maximum flavor? Introducing the ultimate better no knead bread recipe that will revolutionize your bread-baking experience.
Forget everything you thought you knew about bread baking. This recipe, perfected by Jim Lahey of Sullivan Street Bakery, allows you to create bakery-quality bread right in your own kitchen. The secret lies in the simplicity of its ingredients and the magic of overnight resting, resulting in a crusty exterior and a moist, chewy crumb.
But what makes this no knead bread recipe truly remarkable? How does it achieve that beautiful artisanal texture and flavor? Join us as we dive into the science behind it, revealing the surprising techniques that will forever change your bread-baking game.
The Science Behind No Knead Bread
The ultimate better no knead bread recipe offers a simple and efficient way to bake homemade artisan bread with minimal effort. But what’s the science behind this popular baking method? Let’s dive in.
At the heart of the no knead bread recipe is a process called autolysis. During the extended resting time, the dough undergoes autolysis, a natural enzymatic process where the proteins in the flour break down the long protein strands into shorter ones. This breakdown eliminates the need for physical kneading, resulting in a more flavorful bread with a tender, chewy texture.
The beauty of no knead bread is that it leverages the power of time and humidity. By allowing the dough to rest for an extended period, it gives the gluten strands a chance to naturally align and develop, resulting in a better crumb structure. Additionally, the Dutch oven baking method further enhances the texture and flavor of the bread.
The Dutch Oven Advantage
Baking the no knead bread in a Dutch oven creates the ideal baking environment. The Dutch oven’s thick, cast iron or ceramic walls retain and emit heat energy, resulting in faster and more even baking. The small, enclosed space inside the Dutch oven also helps to generate steam, creating a humid environment that enhances the texture and flavor of the bread.
This combination of radiant heat and humidity allows the dough to expand rapidly, creating an impressive oven spring and giving the bread its signature airy crumb. The Dutch oven’s lid traps the steam, providing the optimal conditions for a crisp, crackly crust to form.
Modifying the Method
The science behind no knead bread doesn’t end with the classic recipe. This method offers plenty of room for experimentation and customization. You can try different variations by incorporating herbs, spices, cheese, or nuts into the dough to create unique flavors. The extended resting time and Dutch oven baking method will still produce fantastic results, regardless of the modifications you choose.
No knead bread variations allow for endless creativity in the kitchen, and it’s a great opportunity to explore different flavor profiles and textures.
So, the next time you embark on your no knead bread journey, keep in mind the fascinating science behind it. With simple bread baking and a touch of curiosity, you can achieve professional-quality homemade artisan bread without breaking a sweat.
Why Use a Dutch Oven for No Knead Bread
Using a Dutch oven for baking no knead bread offers several advantages. The thick, cast iron or ceramic walls of the Dutch oven hold a significant amount of heat energy, which is emitted as electromagnetic radiation. This unique heat retention and emission property ensures that the bread bakes evenly and thoroughly.
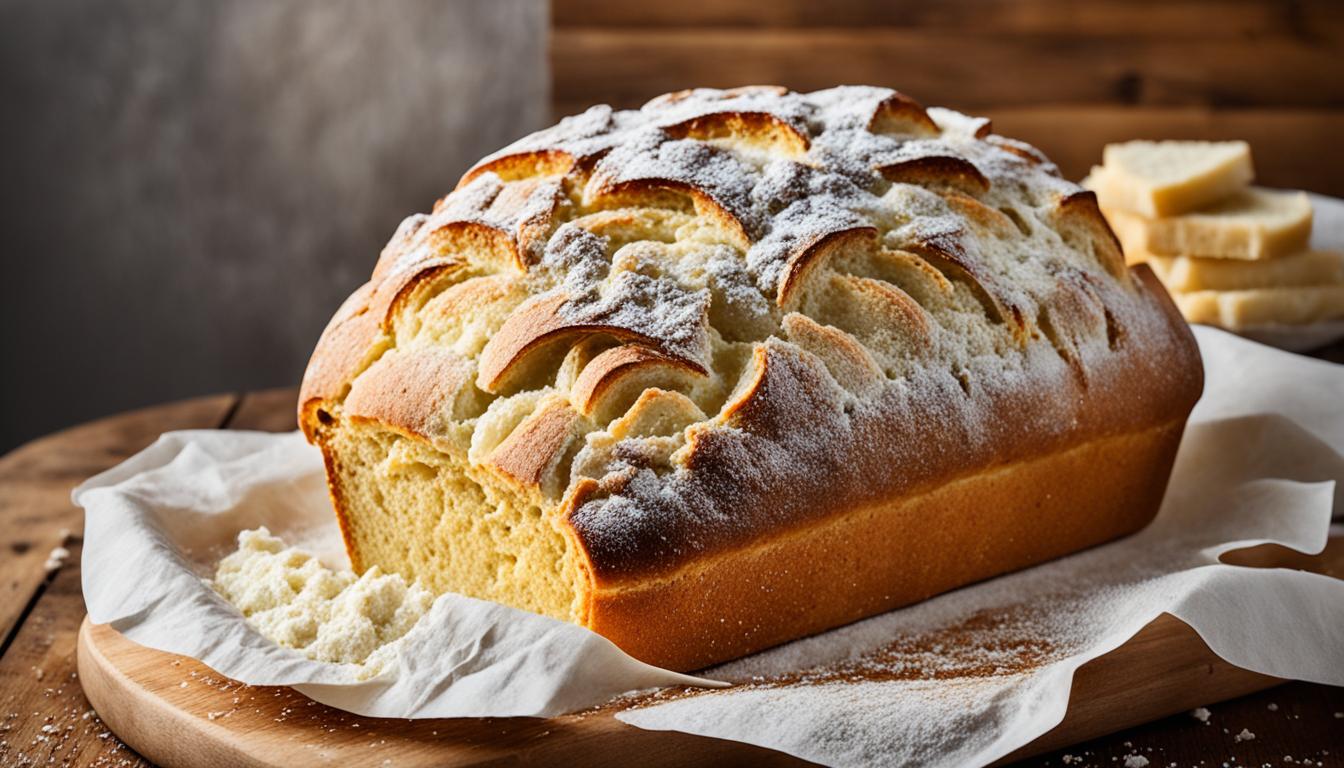
The enclosed space inside the Dutch oven creates a perfect baking environment for achieving a crusty artisanal bread with a tender crumb. The humid environment created by the lid of the Dutch oven helps develop a crisp and crackly crust while maintaining the moisture inside the bread, resulting in a perfectly balanced texture.
An example of a crusty, artisanal bread that can be achieved using a Dutch oven.
The Dutch oven replicates the conditions of a professional bread oven, enabling home bakers to achieve bakery-quality artisanal bread at their own homes. The intense heat distribution and humidity inside the Dutch oven create an ideal environment for baking crusty breads that have the perfect balance of crust and crumb.
So, if you’re looking to bake a crusty bread with an artisanal touch in the comfort of your home, a Dutch oven is an essential tool that can elevate your bread baking to the next level.
The Role of Resting Time in No Knead Bread
Resting the dough for an extended period of time is a crucial step in the no knead bread recipe. This resting time allows for autolysis, a process where enzymes in the flour break down the long protein strands into shorter ones. The shorter protein strands are easier to untangle and align, resulting in a more efficient formation of gluten during baking. This process eliminates the need for physical kneading and produces a tender, chewy crumb.
The resting time also allows for fermentation, which develops complex flavors in the bread. Resting the dough in the refrigerator overnight further enhances the flavor, as the cold temperature slows down the fermentation process and allows the flavors to develop more gradually.
To summarize, resting the dough for an extended period of time in the no knead bread recipe is crucial for achieving a tender and flavorful bread. The autolysis process breaks down protein strands, resulting in efficient gluten formation, while fermentation enhances flavor development. Consider allowing the dough to rest overnight in the refrigerator for even better results.
Tips for Perfect No Knead Bread
To achieve the perfect no knead bread, it’s important to follow a few tips. Here are some recommendations to help you create homemade artisan bread that will impress your family and friends:
- Accurate measurements: Be precise when measuring the ingredients, especially the flour, as it can greatly affect the consistency of the dough.
- Room temperature water: Use water at room temperature to activate the yeast effectively and ensure proper fermentation.
- Optimal resting time: Allow the dough to rest for at least 12 hours, or up to 24 hours, to develop the best flavor and texture.
- Gentle shaping and rising: Shape the dough gently after resting and let it rise until it has doubled in size. This step contributes to the final structure and texture of the bread.
- Preheating the Dutch oven: Ensure the Dutch oven is preheated before baking to create the desired crust and texture.
- Browning the top: For a beautifully golden top, remove the lid of the Dutch oven during the last 10-20 minutes of baking.
- Experiment with variations: Customize the flavor of your no knead bread by adding herbs, garlic, cheese, or spices. Let your creativity shine!
By following these tips, you’ll be able to achieve bakery-quality homemade artisan bread that is delicious and satisfying to make.
No Knead Bread for Beginner Bakers
No knead bread is an excellent choice for beginner bakers. The recipe requires minimal hands-on time and does not involve the complex process of kneading. The extended resting time allows for autolysis to break down the protein strands, eliminating the need for physical kneading. This makes the recipe more forgiving, as the gluten formation happens naturally during baking.
The Dutch oven method ensures a uniform heat distribution and creates the ideal baking environment for achieving a crisp, crackly crust and a tender, chewy crumb. With a few simple steps and basic ingredients, even beginner bakers can enjoy the satisfaction of baking homemade artisan bread.
Follow the steps below to make your own easy bread recipe:
- Combine flour, yeast, salt, and water in a large bowl, stirring until well mixed.
- Cover the bowl with plastic wrap and let it rest at room temperature for at least 12 hours, or up to 24 hours, to allow the autolysis process to occur.
- After the resting period, the dough will be bubbly and elastic. Gently shape the dough into a ball without kneading it too much.
- Place the shaped dough on a parchment-lined baking sheet and let it rise for another 1-2 hours.
- Preheat the Dutch oven in the oven to ensure it’s hot when the dough is ready to bake.
- Transfer the dough into the preheated Dutch oven, cover with the lid, and bake in the oven for 30 minutes.
- Remove the lid and continue baking for an additional 10-20 minutes to allow the bread to brown and develop a crispy crust.
- Once baked, remove the bread from the Dutch oven and let it cool on a wire rack before slicing.
With this easy bread recipe, even novice bakers can achieve delicious homemade artisan bread. Try experimenting with different variations and additions to personalize your bread. Whether you’re serving it fresh out of the oven with a pat of butter or using it to make sandwiches, the satisfaction of biting into a crusty loaf of homemade bread is unmatched.
Variations and Additions to No Knead Bread
The basic no knead bread recipe allows for endless possibilities when it comes to customization. By adding various flavorings and ingredients to the dough, you can create unique variations of this simple bread. Here are some ideas to inspire your creativity:
1. Aromatic Herbs:
Add a touch of freshness to your bread by incorporating aromatic herbs like rosemary, thyme, or sage. These herbs will infuse the dough with delightful flavors, adding an extra dimension to your homemade loaf.
2. Savory Additions:
For a savory twist, consider adding garlic and cheese to your no knead bread dough. The garlic will release its aromatic essence as the bread bakes, while the cheese will melt, creating pockets of gooey goodness in every bite.
3. Spice it Up:
Experiment with different spices and seasonings to create unique flavor combinations. Try adding a pinch of paprika for a subtle smokiness, a dash of cumin for an earthy note, or a sprinkle of chili flakes for a hint of heat.
4. Textural Delights:
Add some texture and sweetness to your bread by mixing in nuts, seeds, or dried fruits. Chopped walnuts, sunflower seeds, or dried cranberries can add a delightful crunch and burst of flavor to each slice.

5. Creative Combinations:
Don’t be afraid to mix and match different ingredients to create your own unique flavor profile. For example, try combining rosemary and garlic for a classic flavor pairing, or experiment with dried figs and orange zest for a more adventurous twist.
The versatility of the no knead bread recipe allows you to explore endless possibilities and encourages creativity in the kitchen. Have fun experimenting with different variations and additions to create the perfect loaf that suits your taste preferences.
No Knead Bread for Special Occasions
No knead bread is not only a great option for everyday baking but also for special occasions. The rustic appearance and artisanal qualities of the bread make it an impressive centerpiece for a holiday meal or dinner party. Serve it alongside a charcuterie board or use it to make gourmet sandwiches. The simplicity of the recipe allows you to focus on other dishes and preparations, while still providing a show-stopping bread. Whether it’s a family gathering or a special celebration, homemade no knead bread adds a touch of elegance and flavor to any occasion.
For that extra special touch, consider adding a personal twist to your homemade artisan bread. Experiment with different shapes and designs before baking, creating a unique presentation that will leave your guests in awe. You can also try incorporating various ingredients such as olives, sun-dried tomatoes, or caramelized onions into the dough for added flavor and sophistication.
When hosting a special event, presentation matters. A beautifully baked loaf of no knead bread can be served whole, allowing guests to tear off pieces themselves. Alternatively, you can slice the bread beforehand and arrange it on a platter garnished with fresh herbs or edible flowers. Either way, the combination of the crusty exterior and fluffy interior will have everyone reaching for seconds.
Conclusion
In conclusion, the ultimate better no knead bread recipe offers a simple and efficient way to bake homemade artisan bread. By allowing the dough to rest overnight, the process of autolysis eliminates the need for physical kneading while enhancing the flavor and texture of the bread. Baking the bread in a Dutch oven replicates the conditions of a professional bread oven, resulting in a crisp, crackly crust and a tender, chewy crumb.
Not only is this recipe beginner-friendly, but it also allows for customization with various additions and flavors. Whether you prefer adding herbs, cheese, or spices, the possibilities are endless. With homemade no knead bread, you can enjoy the satisfaction of baking a delicious, artisanal loaf right in your own kitchen.
Whether you’re baking for everyday meals or special occasions, homemade no knead bread adds a touch of simplicity and richness to any meal. Its rustic appearance and artisanal qualities make it a perfect centerpiece for gatherings or a delightful accompaniment to charcuterie boards. So, dive into the world of simple bread baking and impress your loved ones with a fresh loaf of homemade artisan bread.