If you’re a fan of bread baking and looking to add a twist to your breakfast favorites, our sourdough waffles recipe is perfect for you. This recipe utilizes a time-honored sourdough starter to create fluffy, tangy waffles that are sure to please. With simple ingredients and step-by-step instructions, it’s easy to make these homemade waffles a regular part of your breakfast routine. Say goodbye to wasting sourdough starter and hello to delicious waffles!
But have you ever wondered how sourdough can create such incredible waffles? How does the tangy flavor and fluffy texture come to be? Let’s uncover the secrets behind this mouthwatering breakfast treat!
Using Your Sourdough Starter for Waffles
To make these sourdough waffles, you’ll need a sourdough starter. If you’re already a bread baking enthusiast, chances are you have a starter on hand. You can use 8 ounces of your discard starter for this recipe, saving the rest for other baking projects. It’s important to feed your starter regularly, ideally weekly, to keep it active and healthy. You can use clear jars to store your starters and easily see when they need to be fed. The appearance of hooch (a liquid) on the starter indicates that it’s been a while since it was fed. After feeding, let your starter sit at room temperature until it becomes bubbly and active again.
Sourdough Baking Tips:
- Feed your sourdough starter regularly to keep it active and healthy.
- Store your starter in clear jars to easily monitor its growth.
- Look out for hooch, a liquid that appears on the surface of an inactive starter.
- Let your starter become bubbly and active before using it in recipes.
“A well-maintained sourdough starter is the foundation for delicious waffles and many other baked goods.” – Our Baking Experts
Now that you have a lively and active sourdough starter, you’re ready to dive into making the most delicious sourdough waffles. In the next section, we’ll guide you through the step-by-step waffle recipe, ensuring your waffles turn out fluffy, tangy, and absolutely irresistible.
Overnight Sponge for Fluffy Waffles
The secret to making classic sourdough waffles with a light and airy texture lies in the overnight sponge. This step is crucial for achieving the perfect balance of flavors and developing the ideal texture in the waffle batter.
To create the overnight sponge, gather the following ingredients:
- 1 cup of unfed sourdough starter
- 2 cups of all-purpose flour
- 2 tablespoons of sugar
- 2 cups of buttermilk
In a large bowl, combine the unfed sourdough starter, all-purpose flour, sugar, and buttermilk. Carefully mix the ingredients to ensure they are thoroughly combined, but be cautious not to overmix.
The overnight sponge needs room to expand, so avoid filling the bowl more than two-thirds full. Cover the bowl with a clean kitchen towel or plastic wrap and let it rest at a cool room temperature for approximately 12 hours or overnight. This extended resting period allows the sourdough to ferment and develop its signature tangy flavor.
Why use buttermilk in the overnight sponge?
The inclusion of buttermilk in the overnight sponge not only enhances the tanginess of the waffles but also contributes to the overall tenderness and moistness of the final product. The acidity of buttermilk helps activate the leavening agents in the batter, resulting in lighter and fluffier waffles.
Here’s an example of what your overnight sponge will look like:
| Ingredients | Measurements |
|---|---|
| Unfed sourdough starter | 1 cup |
| All-purpose flour | 2 cups |
| Sugar | 2 tablespoons |
| Buttermilk | 2 cups |
The overnight sponge is the first step towards achieving the perfect classic sourdough waffles. Its fermentation process not only adds depth of flavor but also results in a light and fluffy texture that is guaranteed to impress.
Completing the Waffle Batter
In the morning, the sponge should be bubbly and active. Stir in 1/4 cup of melted butter, 2 large eggs, 3/4 teaspoon of salt, and 1 teaspoon of baking soda. The addition of these ingredients gives the waffles structure, texture, and flavor. The batter will immediately start to bubble up due to the reaction between the baking soda and the acidic starter. Fold everything together just to combine, being careful not to overmix. The batter will have an airy, almost frothy consistency, ready to be made into crispy, flavorful waffles.
Waffle Batter Ingredients:
| Ingredients | Measurements |
|---|---|
| Melted butter | 1/4 cup |
| Large eggs | 2 |
| Salt | 3/4 teaspoon |
| Baking soda | 1 teaspoon |
Baking the Sourdough Waffles
Now that you have your sourdough waffle batter ready, it’s time to bake these golden, crispy delights. Here’s how you can make the most out of your waffle iron and enjoy the perfect sourdough waffles.
First, preheat your waffle iron according to the manufacturer’s instructions. This ensures that your waffles cook evenly and achieve that irresistible golden color. While the iron is heating up, take a moment to savor the anticipation of the delicious waffles to come.
Next, using a ladle or scoop, pour about 1/2 cup of waffle batter onto the hot iron. The batter will expand and rise as it cooks, creating those airy pockets that make sourdough waffles so delightful. Don’t be afraid to experiment with different shapes or patterns on your waffle iron for some added fun.
As the waffles bake, you’ll notice steam emerging from the iron. Once the steam stops and the waffles easily lift from the surface, they are ready to be enjoyed. This usually takes around 2 minutes, but cooking times may vary depending on your waffle iron model and personal preference.
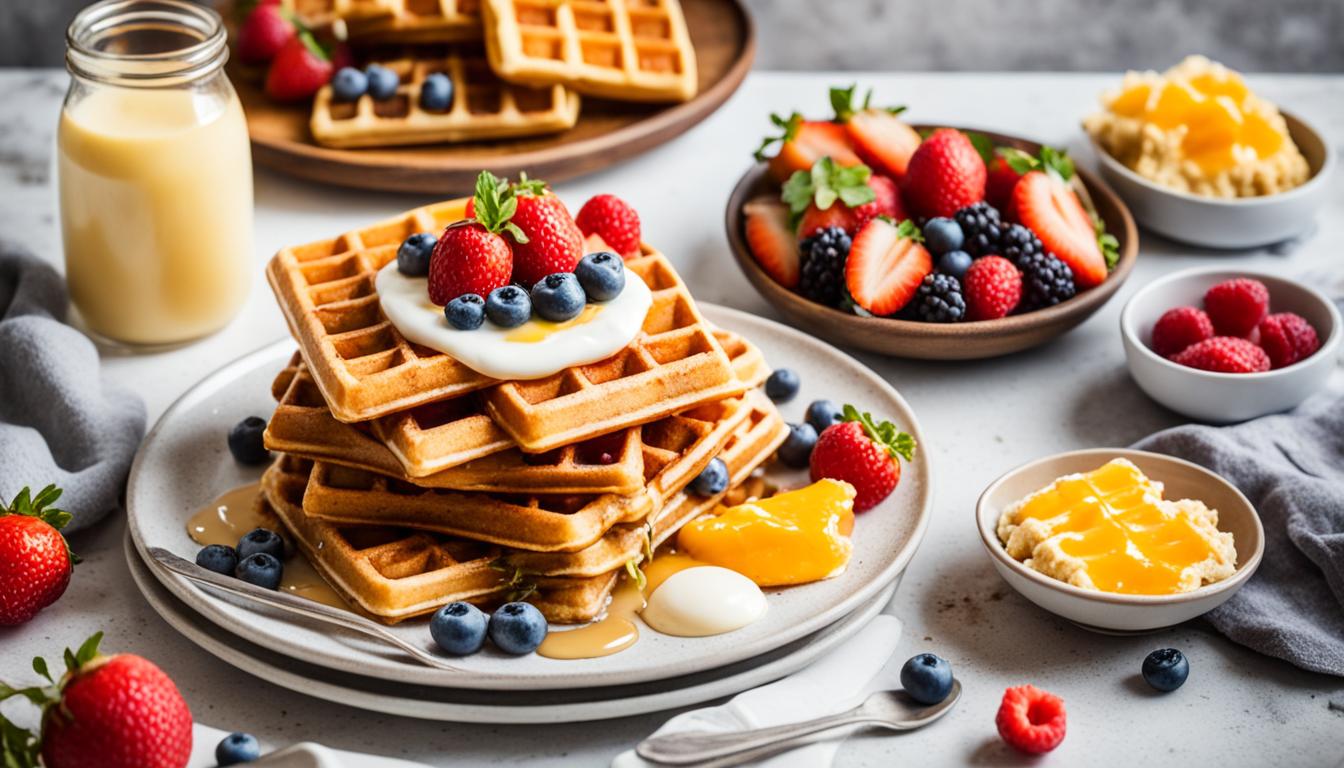
When your waffles are perfectly golden and crispy, remove them from the waffle iron and serve them warm. The irresistible aroma will fill your kitchen, making everyone eager to indulge in these sourdough delights. Remember, you can keep the baked waffles warm in a 200°F oven until serving, ensuring that everyone gets to enjoy them at their best.
Tips for Baking Golden Waffles:
- Follow the manufacturer’s instructions for your specific waffle iron to achieve the best results.
- Experiment with different waffle shapes and patterns to make your breakfast extra special.
- Don’t overfill the waffle iron with batter to avoid overflow and messy cleanup.
- Adjust the cooking time according to your desired level of crispiness.
Now that you have mastered the art of baking sourdough waffles, it’s time to indulge in their golden goodness. Gather your loved ones, sit around the table, and savor each bite of these homemade delights. The enchanting combination of tangy sourdough and perfectly cooked waffles is sure to make any breakfast memorable.
Variations and Tips for Sourdough Pancakes
If you prefer pancakes over waffles, you can easily adapt the sourdough waffle batter for pancakes. Simply pour the batter onto a greased hot griddle instead of using a waffle iron. You can adjust the batter’s consistency by adding more flour or milk until it reaches the desired thickness, similar to pancake batter. For those following a gluten-free diet, you can use a gluten-free sourdough starter and replace the all-purpose flour with a gluten-free flour blend, such as Measure for Measure flour from King Arthur. This allows everyone to enjoy the tangy goodness of sourdough pancakes.
| Sourdough Pancake Variations | Description |
|---|---|
| Blueberry Pancakes | Add fresh or frozen blueberries to the pancake batter for a burst of fruity flavor in every bite. |
| Chocolate Chip Pancakes | Sprinkle chocolate chips onto the pancake batter right after pouring it onto the griddle for a decadent twist. |
| Banana Walnut Pancakes | Mash ripe bananas and mix them into the batter along with chopped walnuts for a delicious and filling pancake option. |
Want to take your sourdough pancakes to the next level? Here are a few tips to enhance your pancake-making experience:
- Rest the Batter: Allow the pancake batter to rest for about 15 minutes before cooking. This helps the gluten in the flour relax and results in lighter, fluffier pancakes.
- Add Flavorings: Experiment with different flavorings such as vanilla extract, cinnamon, or nutmeg to add a touch of warmth and complexity to your pancakes.
- Toppings Galore: Get creative with your pancake toppings! From fresh fruits and whipped cream to maple syrup and melted butter, the possibilities are endless.
“Sourdough pancakes are a delightful and versatile breakfast option. Whether you prefer them plain or loaded with toppings, their tangy flavor and fluffy texture are sure to please.”
Freezing Leftover Waffles and Pancakes
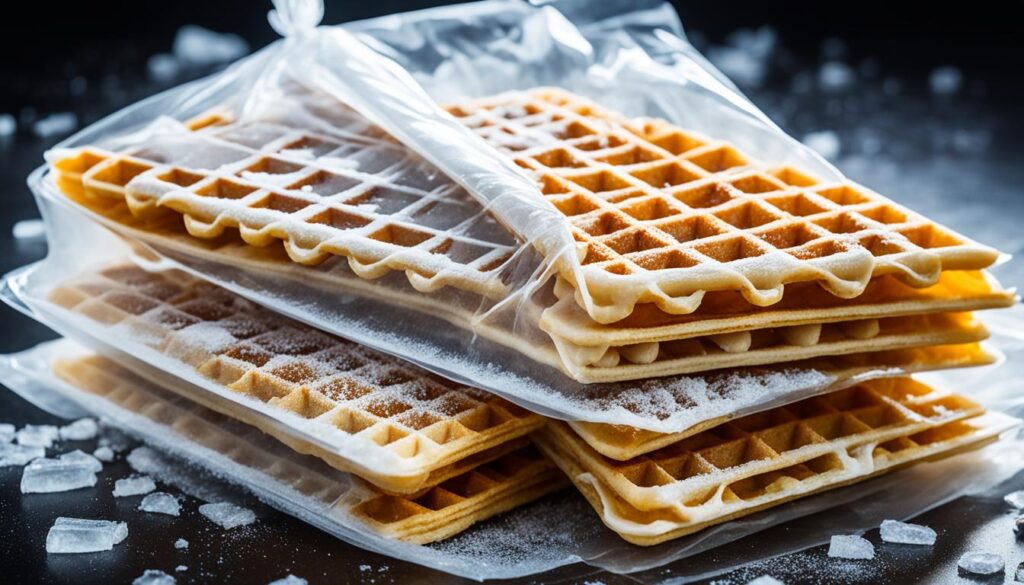
If you find yourself with leftover waffles or pancakes, don’t worry, they freeze well! Once they are completely cooled, you can layer them in a zip-top plastic bag with parchment or wax paper between the layers. Label and date the bag before placing it in the freezer. When you’re in need of a quick breakfast, simply pop a waffle or pancake into the toaster for a convenient and delicious meal. It’s a great way to have homemade waffles or pancakes on hand without the need for extensive preparation.

| Steps to Freeze Leftover Waffles and Pancakes |
|---|
| 1. Allow waffles or pancakes to cool completely. |
| 2. Layer them in a zip-top plastic bag, separating each piece with parchment or wax paper. |
| 3. Label and date the bag. |
| 4. Place the bag in the freezer. |
| 5. When ready to eat, remove the desired number of waffles or pancakes from the freezer. |
| 6. Toast the waffle or pancake in a toaster until heated through. |
| 7. Enjoy the convenient and delicious homemade breakfast! |
As you can see, freezing waffles and pancakes is an easy breakfast option that saves both time and effort. By following these simple steps, you can always have a tasty homemade meal ready to go whenever you need it. So, the next time you have leftover waffles or pancakes, don’t hesitate to freeze them for a quick and satisfying breakfast experience.
Embracing Sourdough Baking
These sourdough waffles can be the gateway to a whole world of sourdough baking. If you’ve been hesitant to dive into sourdough baking, let these waffles be the motivation you need. With their tangy flavor, tender interior, and crispy crust, they showcase the best of what sourdough can offer. Once you’ve mastered sourdough waffles, you can explore other sourdough recipes like bread, biscuits, and more.
So why incorporate sourdough into your baking routine? Sourdough baking is more than just a trend; it’s a time-honored tradition that brings depth of flavor and texture to your creations. By using sourdough starter instead of commercial yeast, you’ll discover a whole new world of taste and complexity. Sourdough’s natural fermentation process not only enhances the flavor but also improves the nutritional profile of baked goods.
By incorporating sourdough into your baking routine, you’ll also minimize food waste. With regular feeding and maintenance, your sourdough starter can become a living heirloom, passed down through generations. It’s a sustainable way to create delicious baked goods while reducing your environmental impact. Plus, the slower fermentation process of sourdough allows for better digestibility, making it a good option for those with gluten sensitivities.
