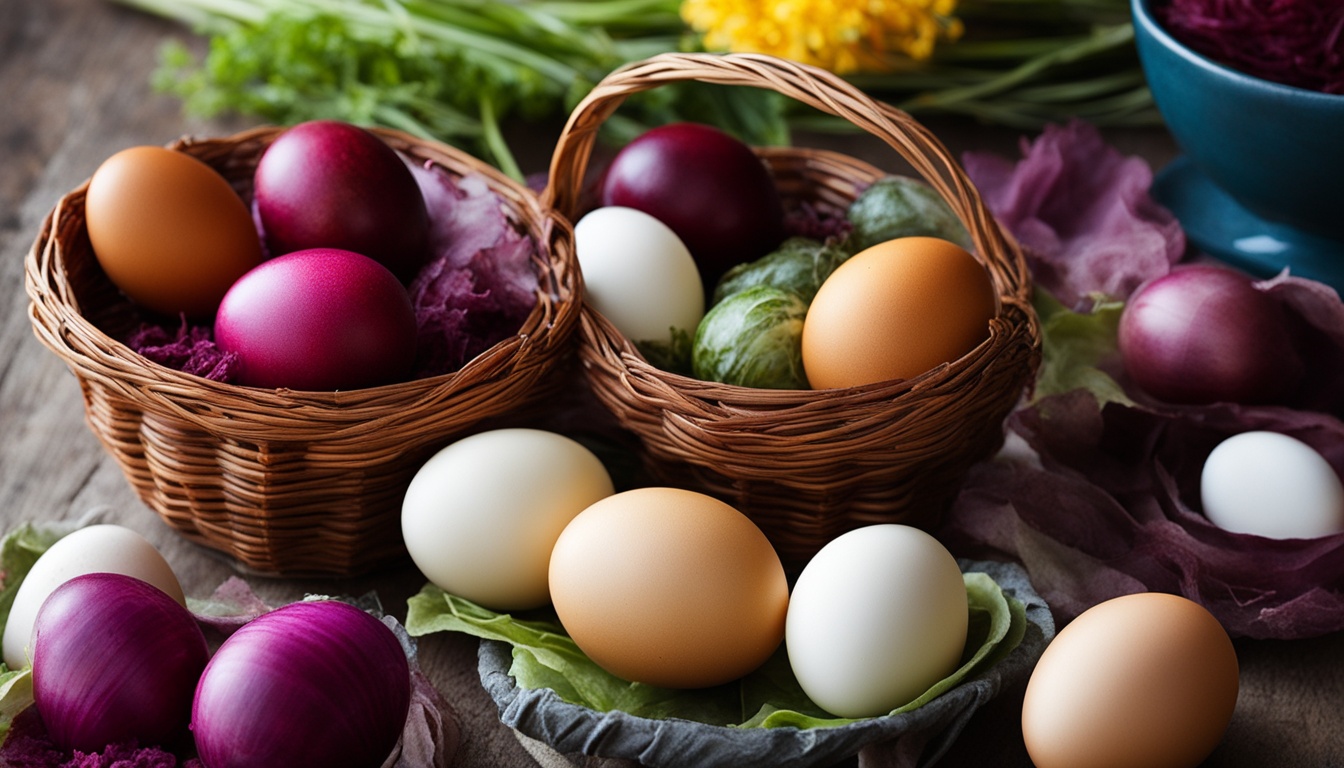
How can you dye Easter eggs naturally without using a store-bought kit? Is it possible to achieve vibrant and organic colors using kitchen ingredients? Let’s discover the art of natural Easter egg dyeing with onion skins, beets, and cabbage.
When it comes to dyeing Easter eggs, we often reach for artificial kits, but there’s a more eco-friendly and creative way to celebrate. By harnessing the power of common kitchen ingredients, like onion skins, beets, and cabbage, you can create beautiful and natural dyes for your Easter eggs. Not only will this process allow for unique and vibrant colors, but it also provides a fun and engaging activity for the whole family.
The Onion Skin Method
One method of dyeing Easter eggs naturally involves using onion skins. This traditional method is not only eco-friendly but also yields beautiful and unique results. To get started, collect the skins of at least 8 to 10 onions for every dozen eggs.
Tip: Save the onion skins from your cooking to use for this purpose. It’s a great way to reduce waste and create stunning colors for your Easter eggs!
To dye the eggs, you’ll need to wrap them in the onion skins and secure them with string or rubber bands. This will create a cloth bundle that holds the skins in place during boiling. The heat from boiling will cause the color from the onion skins to transfer onto the eggs, resulting in a beautiful mottled appearance.
Before starting the boiling process, it’s a good idea to gather some additional materials to enhance the designs on your eggs. Collect leaves, flower petals, or herbs from your garden or nearby parks to create unique patterns. Simply place these items on the egg before wrapping it in the onion skins.
Once everything is prepared, place the wrapped eggs in a pot filled with enough water to cover them. Add a tablespoon of vinegar to the water, which will help the dye adhere to the eggshell. Boil the eggs for about 10 to 12 minutes.
When the eggs are done boiling, carefully remove them from the pot and allow them to cool. Once cool, gently unwrap the eggs, revealing their vibrant colors and unique designs.
This method of dyeing Easter eggs naturally using onion skins is not only a fun and creative process but also allows you to create one-of-a-kind eggs that are truly organic and beautiful.
Vegetable Dyes
If you prefer a wider range of colors for your Easter eggs, you can experiment with various vegetable dyes. Some common vegetables that can be used to create natural dyes include beets, cabbage, and turmeric.
For the red dye, combine chopped beets with water, vinegar, and salt in a saucepan and simmer for 30 minutes. The resulting liquid can be used to dye the eggs.
To create a yellow dye, simmer ground turmeric in water, vinegar, and salt. And for a blue dye, boil shredded red cabbage with water, vinegar, and salt. These dyes can be used to soak the eggs until they reach the desired colors. The longer the eggs soak, the deeper and more vibrant the colors will be.
Get ready to unleash your creativity and produce stunningly colorful and eco-friendly Easter eggs with these all-natural vegetable dyes.
Tips and Tricks
When it comes to dyeing Easter eggs naturally without using a store-bought kit, there are a few tips and tricks that can help you achieve the best results. First and foremost, make sure to boil the eggs ahead of time and let them cool completely before dyeing. This ensures that the eggs are fully cooked and ready for the dyeing process.
If you’re using the onion skin method to dye your eggs, it’s important to wrap them tightly in the cloth bundle. This helps prevent the dye from seeping through and creates a beautiful mottled effect on the eggs. Take your time to secure the bundle properly and ensure a vibrant and unique outcome.
When using vegetable dyes such as onion skins, beets, or cabbage, keep in mind that the colors may vary depending on factors like the concentration of the dye, the type of egg, and the length of time the eggs soak. Experiment with different combinations and soak times to achieve your desired hue. And remember, letting the eggs dry completely before handling them will help prevent the colors from rubbing off.
By following these tips and getting creative with different ingredients and techniques, you can create stunning and natural Easter eggs that are sure to impress your family and friends. Enjoy the process and let your creativity shine!
