Do you dream of baking your own homemade sourdough bread but feel intimidated by the process? Don’t worry, we’ve got you covered! In this easy guide, we will demystify the art of sourdough bread making and provide you with all the tips and techniques you need to master this ancient craft. Whether you’re a beginner or an experienced baker, our step-by-step instructions and expert advice will help you create the perfect loaf every time.
From nurturing a healthy sourdough starter to understanding the bread-making process, we’ll walk you through each stage of the journey. Learn the secrets to achieving a crusty, flavorful bread with a soft and airy crumb. Discover the importance of a healthy starter and how to troubleshoot common issues that may arise. And don’t miss our valuable tips and tricks to enhance your bread-making skills and unleash your creativity in the kitchen.
Ready to embark on your sourdough adventure? Let’s dive in and unlock the secrets of mastering sourdough bread.
The Importance of a Healthy Starter
A sourdough starter is the heart of sourdough bread making. It provides the natural leavening agents necessary for the bread to rise. It consists of a mixture of flour and water, which ferments over time and develops yeasts and bacteria.
It’s crucial to maintain a healthy and active starter. This involves regularly feeding it with a fresh mixture of flour and water and allowing it to ferment and double in size. By following a sourdough starter guide, you can ensure that your starter remains vibrant and full of life.
If your starter is not doubling within a reasonable timeframe, it may need to be strengthened with more feedings. Troubleshooting common issues with starters, such as sluggish fermentation or off flavors, is also important. By understanding the principles of sourdough troubleshooting, you can tackle any problems that may arise and achieve successful bread baking consistently.
A healthy starter sets the foundation for delicious and flavorful sourdough bread. With patience and care, you can cultivate a thriving starter that will enhance your baking experience and provide you with homemade artisan bread that is truly exceptional.
The Bread-Making Process
Once you have a healthy starter, you can begin the bread-making process. It’s time to transform your ingredients into a delicious loaf of sourdough bread. Follow these step-by-step instructions to create a bakery-worthy masterpiece:
- Combine the Ingredients: In a mixing bowl, combine your sourdough starter, water, flour, and salt. Use a spatula or your hands to loosely stir the mixture together until all the ingredients are evenly distributed.
- Rest and Relax: Allow the dough to rest for 30 minutes. This short rest period helps the dough hydrate and makes it easier to work with during the next steps.
- Stretch and Fold: Gently stretch the dough from one side and fold it over itself. Repeat this process from all sides of the dough, rotating the bowl as needed. These stretches and folds help to develop the gluten and improve the dough’s structure.
- Bulk Fermentation: Cover the bowl and let the dough undergo bulk fermentation at room temperature for several hours. During this time, perform additional sets of stretches and folds every 30 minutes to an hour. This process enhances gluten development and contributes to better flavor and texture in your bread.
- Shape and Proof: Once the bulk fermentation is complete, shape the dough into a ball. Use a banneton or a lined bowl for shaping and place the dough inside. Then, refrigerate the dough for a final proof. This long, cold proofing period allows the flavors to meld and develop further.
- Bake to Perfection: Preheat your oven to the desired temperature. Remove the dough from the refrigerator and let it sit at room temperature for a short while. Gently transfer the dough onto a baking sheet or a preheated Dutch oven. Score the top of the dough with a knife or a lame. Place the bread into the oven and bake until golden brown and crusty.
With these simple steps, you’ll be able to master the art of sourdough bread-making. Whether you’re a beginner or an experienced baker, following this step-by-step guide will ensure successful results every time.
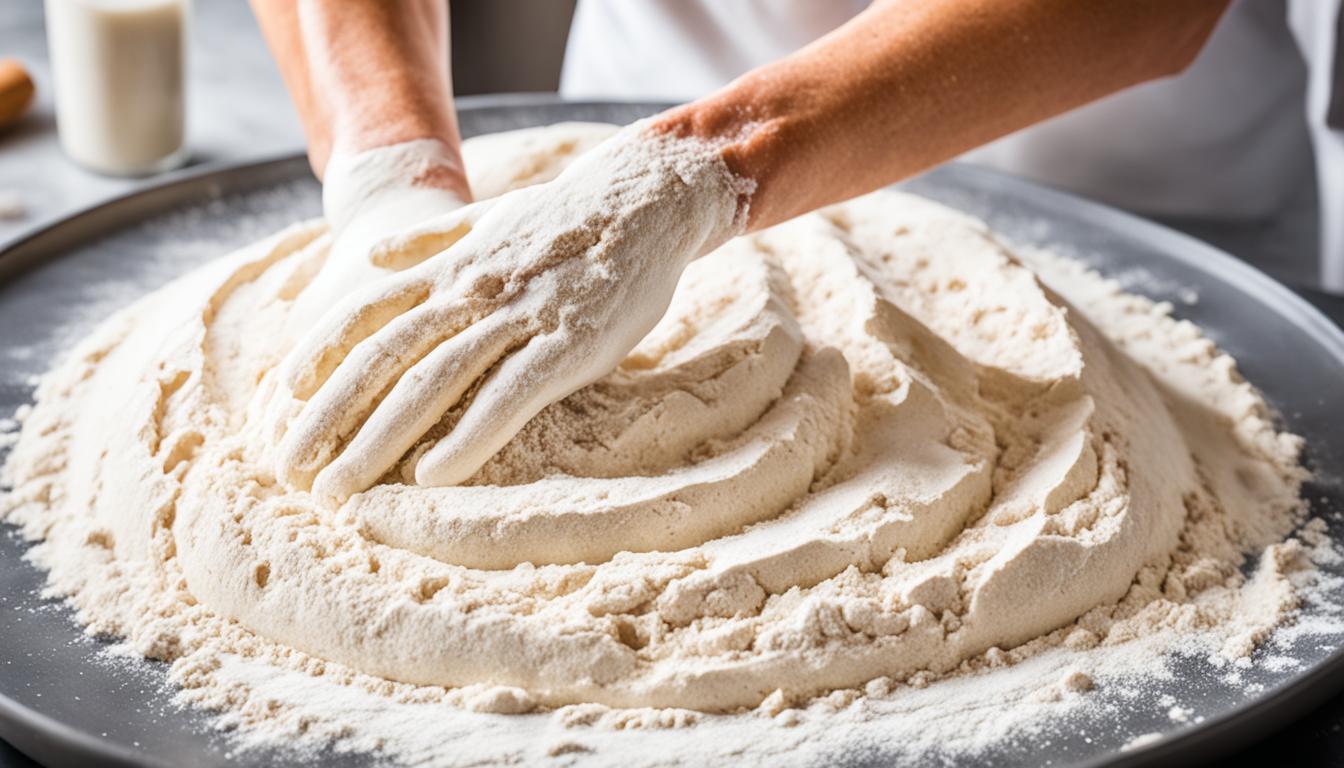
For a visual demonstration of the bread-making process, refer to the image below:
Tips and Troubleshooting
To ensure success in your sourdough bread-making journey, it’s important to keep a few tips and techniques in mind. Maintaining proper hydration in the dough is essential for achieving the desired texture and crumb. We recommend using high-quality bread flour for consistent results. This will help you create homemade sourdough bread that is light, airy, and flavorful.
Another crucial aspect to consider is the fermentation and proofing process. Understanding the ideal temperature range is key to prevent over or under-proofing. Generally, a warm room temperature between 70-75°F (21-24°C) is ideal for fermentation. If you’re experiencing issues with your sourdough, adjusting the fermentation times, hydration levels, or baking temperatures can help troubleshoot common problems like a lack of oven spring or a dense crumb.
As you continue your sourdough journey, don’t be afraid to explore easy sourdough recipes and different baking techniques. There are numerous homemade sourdough tutorials available online that can provide inspiration and guidance. Trying out new techniques, such as different shaping methods or experimenting with various baking vessels, can enhance your bread-making skills and spark your creativity. Remember, baking sourdough is an art that requires practice, patience, and a willingness to troubleshoot along the way.