Have you ever wondered how to carve a chicken like a pro? Do you struggle with getting clean and even slices? Look no further, because we have the ultimate guide to help you master the art of chicken carving.
Carving a chicken may seem intimidating, but with the right techniques and step-by-step instructions, you’ll be able to carve a chicken with ease. Whether you’re preparing a Sunday roast or hosting a dinner party, knowing how to carve a chicken properly is a valuable skill that will impress your guests.
In this comprehensive guide, we will share easy chicken carving techniques, provide a detailed step-by-step guide, and reveal expert tips to ensure your carved chicken looks as good as it tastes. By the end, you’ll be able to confidently tackle any whole chicken and transform it into a beautifully plated masterpiece.
So, are you ready to elevate your chicken carving skills? Let’s dive in and uncover the secrets to a perfectly carved chicken!
The Importance of Resting and Trussing the Chicken
Before carving the chicken, it’s crucial to let it rest for at least 10 minutes. This allows the juices to redistribute, resulting in a more flavorful and tender meat. Trussing the chicken with butcher’s twine before roasting also helps maintain its shape and ensure even cooking.
Resting the chicken after cooking allows the internal temperature to stabilize and the juices to redistribute. During the cooking process, the heat causes the juices to move towards the center of the meat. By allowing the chicken to rest before carving, you give the juices time to redistribute throughout the meat, resulting in a moist and succulent texture.
Trussing, or tying up, the chicken using butcher’s twine is another important step. Trussing helps the chicken maintain its shape during roasting, ensuring even cooking throughout. It prevents the wings and legs from drying out and helps the chicken cook more evenly, providing a consistent texture and flavor.
To truss a chicken, follow these simple steps:
- Place the chicken on a clean surface, breast-side up.
- Tuck the wingtips behind the chicken’s back.
- Cut a long piece of butcher’s twine and slide it under the chicken, centering it near the cavity.
- Bring the twine up around the wings and cross it over the breast, pulling it tight to secure the wings.
- Continue crossing the twine over the breast, going under the legs as you go.
- Pull the twine tight and tie it in a knot to secure the legs.
Trussing the chicken not only helps with even cooking, but it also enhances the presentation of the final dish. The chicken will have an appealing and uniform shape, making it more visually appealing when served.
Resting and trussing the chicken before carving may seem like small details, but they can make a significant difference in the flavor, texture, and appearance of the final dish. These steps ensure a delicious and beautifully presented roast chicken that will impress your guests or simply elevate your weekday dinner.
Selecting the Right Knives for Carving
When it comes to carving a chicken, the right knives can make all the difference. With the proper tools, you can achieve clean and precise cuts, resulting in beautifully presented dishes. Two essential knives for carving chicken are the thin carving knife and the boning knife.
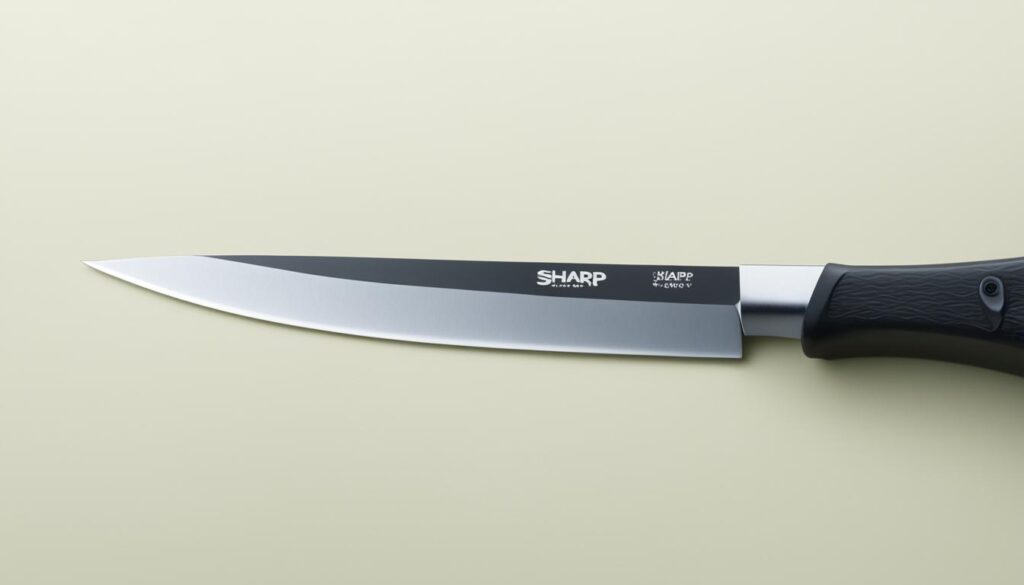
The thin carving knife is designed for slicing through meat effortlessly. Its long, narrow blade allows for smooth and precise cuts, ensuring each slice is evenly proportioned. This knife is perfect for creating thin slices of chicken breast or carving delicate pieces of meat with minimal effort.
On the other hand, the boning knife is ideal for separating the different parts of the chicken. Its thin and flexible blade allows for easy maneuvering around bones, making it easier to remove skin, trim excess fat, and separate joints. This knife ensures that you can efficiently and skillfully separate the chicken into its desired parts.
“The right knives make all the difference in achieving the perfect carving results. Using a thin carving knife and a boning knife ensures clean and professional-looking slices and makes the entire process so much smoother.”
Investing in high-quality carving knives is essential for anyone serious about their culinary skills. Not only do these knives make carving chicken a breeze, but they can also be used for other types of meat and even vegetables. With the right tools at your disposal, you can elevate your cooking and presentation to a whole new level.

| Knife | Description |
|---|---|
| Thin Carving Knife | A long, narrow blade for smooth and precise cuts. |
| Boning Knife | A thin and flexible blade for separating chicken parts and trimming excess fat. |
Step-by-Step Guide to Carving a Chicken
Carving a chicken requires some precision and know-how, but with the right techniques, you can confidently slice through the bird and serve up perfectly carved pieces. Follow our step-by-step guide below to master the art of chicken carving.
1. Remove the Legs and Wings
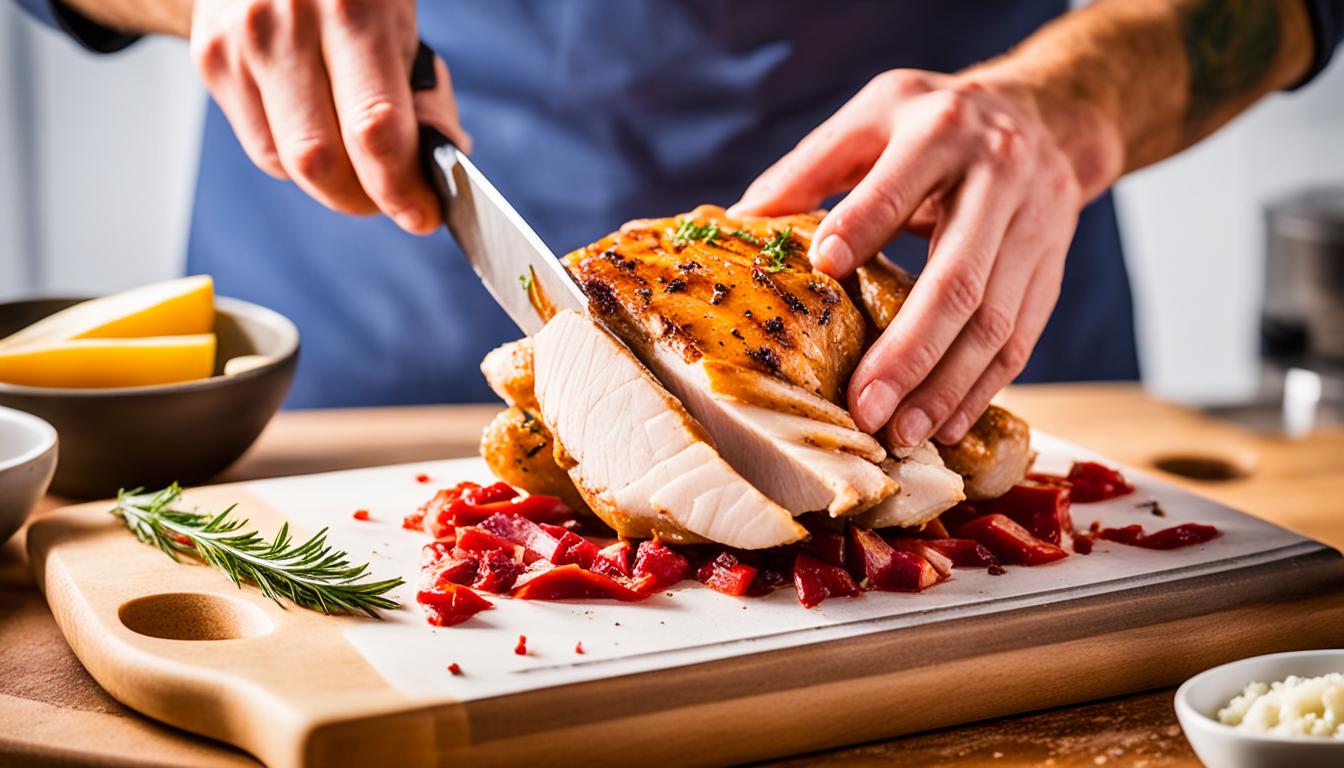
Begin by securing the chicken with a carving fork to stabilize it. Use a sharp carving knife to cut through the joints that connect the legs and wings to the body. Apply gentle pressure and make clean, smooth cuts to separate these parts. Set the legs and wings aside.
2. Separate the Breasts
Next, locate the breastbone in the center of the chicken’s chest. Insert the tip of the carving knife alongside the breastbone and make a long, shallow cut along its length. Continue cutting along the ribcage to release the breast meat. Repeat on the other side of the breastbone to remove the second breast. Keep the breasts intact or slice them into smaller portions, depending on your preference.
3. Slice the Meat
Now that you have the legs, wings, and breasts separated, it’s time to slice the meat for serving. Use a sharp carving knife to make thin, even slices against the grain of the meat. This technique ensures tender and juicy pieces of chicken with a clean presentation.
4. Arrange and Serve
Once the chicken is sliced, carefully arrange the pieces on a platter, keeping similar parts together. This allows your guests to easily select their desired pieces. Add any garnishes or sauces for extra flavor and visual appeal. Time to serve and enjoy!
With these carving techniques and step-by-step instructions, you’ll be able to carve a chicken like a pro. Impress your family and friends with beautifully presented and deliciously tender chicken every time.
Tips for Perfectly Plating Carved Chicken
When it comes to serving a beautifully carved chicken, presentation is key. Here are some tips to ensure your plating is visually appealing and enticing:
1. Arrange the carved chicken pieces neatly on a platter. Place the breast slices in the center and the legs and wings around them. This creates an attractive focal point and makes it easier for your guests to serve themselves.
2. If there are any less attractive or unevenly carved pieces, tuck them underneath the more visually appealing ones. This helps maintain a clean and polished presentation.
3. Enhance the visual appeal by adding garnishes or sauces. Fresh herbs like parsley or thyme can be sprinkled over the chicken to add a pop of color. Drizzle a flavorful sauce over the top, such as a tangy lemon herb sauce or a creamy mushroom sauce.
4. Consider serving the carved chicken with a variety of side dishes and sauces. Some popular options include roasted vegetables, creamy mashed potatoes, or a refreshing salad. This allows your guests to create their own personalized combination, making the meal more enjoyable.
Remember, plating is not just about how the food looks, but also how it enhances the overall dining experience. Taking the time to present your carved chicken with care will surely impress your guests and make the meal feel more special.
