Are you ready to indulge in the delicate sweetness of homemade lady fingers? Join us as we take you on a journey to discover the secrets behind this classic Italian treat and learn how to bake them right in your own kitchen. Whether you’re a seasoned baker or a beginner, our easy homemade lady fingers recipe is sure to impress. Get ready to tantalize your taste buds and elevate your desserts to new heights!
When it comes to Italian desserts, lady fingers are a beloved staple. But have you ever wondered what goes into making these light and airy cookies? Or how they became such a popular choice for tiramisu and other delectable desserts? Our article has all the answers.
We’ll guide you through our foolproof recipe that yields four dozen mouthwatering lady fingers. The prep time is a mere 25 minutes, and with just 10 minutes in the oven, you’ll have these delicate cookies ready to devour in no time. Whether you’re planning a special occasion or simply craving something sweet, our homemade lady fingers are perfect for large gatherings or indulging throughout the week.
But before we delve into the recipe, let’s uncover the fascinating history and versatile uses of lady fingers. Are you ready to transform your baking skills and amaze your friends and family? Let’s get started on this culinary adventure together!
How to Make Homemade Lady Fingers
To make homemade lady fingers, you will need 4 eggs, separated, 2/3 cup of white sugar, 7/8 cup of all-purpose flour, and 1/2 teaspoon of baking powder. Here is a step-by-step guide:
- Preheat your oven to 400 degrees F and line two baking sheets with parchment paper.
- Begin by beating the egg whites in a large bowl until soft peaks form. Add 2 tablespoons of sugar and continue beating until stiff and glossy.
- In a separate bowl, beat the egg yolks and remaining sugar until thick and pale.
- Fold in half of the egg whites, then sift in the flour and baking powder and fold in the remaining egg whites until combined.
- Transfer the mixture to a pastry bag and pipe 3-inch “fingers” onto the prepared baking sheets.
- Bake for 8 minutes, or until firm to the touch and lightly golden.
This recipe will yield light and airy homemade lady fingers that are perfect for enjoying on their own or using in various desserts.
The History and Uses of Lady Fingers
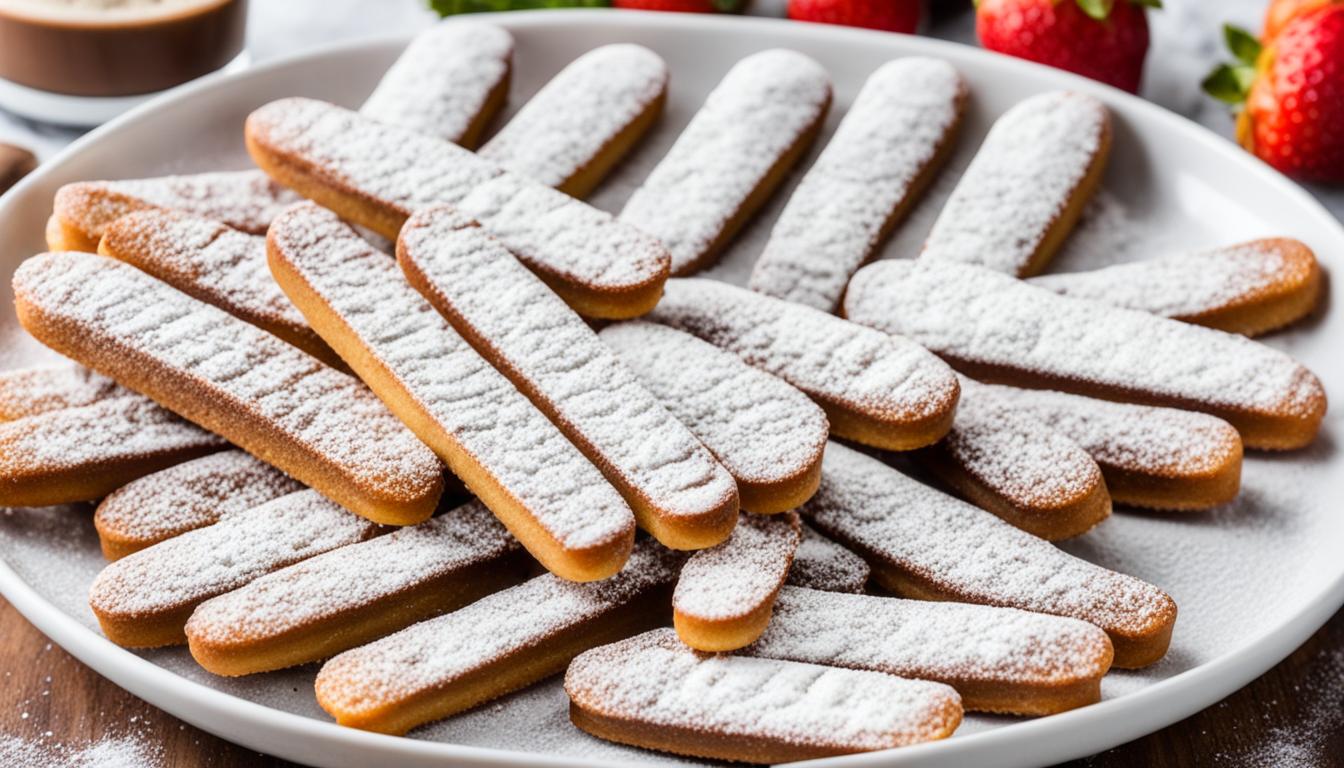
Lady fingers, also known as sponge fingers or savoiardi, are finger-shaped traditional Italian pastries. They have crispy exteriors similar to biscuits and light and airy interiors like sponge cakes.
The history of lady fingers dates back to the late 15th century in Western Europe, where they were first baked for a visit by the King of France. These delicate pastries quickly gained popularity in Italy and became a local culinary pride. Today, lady fingers are an integral part of many Italian desserts.
One of the most popular uses of lady fingers is in the classic dessert, tiramisu. In this decadent dessert, lady fingers are soaked in coffee and layered with a creamy mixture of mascarpone cheese and eggs. Trifles, another popular dessert, also feature lady fingers layered with fresh fruit, custard, and whipped cream.
Lady fingers are also commonly used in Charlotte cakes, which are elegant and sophisticated desserts consisting of lady fingers forming the outer layer of a cake filled with mousse, custard, or fruit. Their light and delicate texture make them the perfect base for these stunning creations.
Enjoying Lady Fingers
While lady fingers are often used in desserts, they can also be enjoyed on their own as a sweet snack. Their subtle sweetness and light texture make them a delightful accompaniment to a cup of coffee or tea.
To truly appreciate the history and versatility of lady fingers, why not try making your own homemade batch? The satisfaction of baking these delicate pastries from scratch is unparalleled. Plus, you’ll have the freedom to incorporate them into your favorite desserts or savor them as a standalone treat.
So whether you’re indulging in a tiramisu, creating an exquisite Charlotte cake, or simply enjoying them with a hot beverage, lady fingers offer a taste of Italy and a touch of elegance to any culinary experience.
Tips and Tricks for Homemade Lady Fingers
When making homemade lady fingers, it’s important to have a clean and dry bowl for whipping the egg whites. We recommend using a stainless steel or glass bowl, as plastic bowls can retain oil or residue that can hinder proper whipping. By ensuring a clean and dry bowl, you’ll have the best chance of achieving those stiff peaks that give lady fingers their light and airy texture.
Another tip is to separate the eggs carefully. Any trace of yolk in the egg whites can make it difficult to achieve the desired stiffness. To avoid any mishaps, we suggest cracking each egg into a small bowl first, and then adding it to the main bowl. This way, if a yolk breaks, it won’t contaminate the other egg whites.
When it comes to folding in the egg whites, it’s important not to overmix the batter. Gently fold in the egg whites until just combined, being careful not to deflate them. Overmixing can cause the egg whites to lose their volume, resulting in flat and dense lady fingers. Take your time and use a gentle hand to achieve the perfect balance.
To enhance the texture and rise of your lady fingers, consider dusting the dough with powdered sugar before baking. This helps create a softer crust and adds a touch of sweetness to the cookies. Simply sprinkle a light layer of powdered sugar over the piped dough, and it will dissolve and absorb during baking.
Lastly, while lady fingers can be stored in an airtight container at room temperature for up to 2 weeks, we highly recommend enjoying them immediately after baking for the best texture. Freshly baked lady fingers have a delicate crispness on the outside, with a soft and spongy interior that is truly delightful.