If you’re a fan of flaky pastry and creamy cheese filling, you’re in for a treat. We’ve got an easy homemade cheese danish recipe that will have you indulging in this delectable pastry in no time. Whether you’re looking to impress your brunch guests or satisfy your own cravings, this recipe is a game-changer.
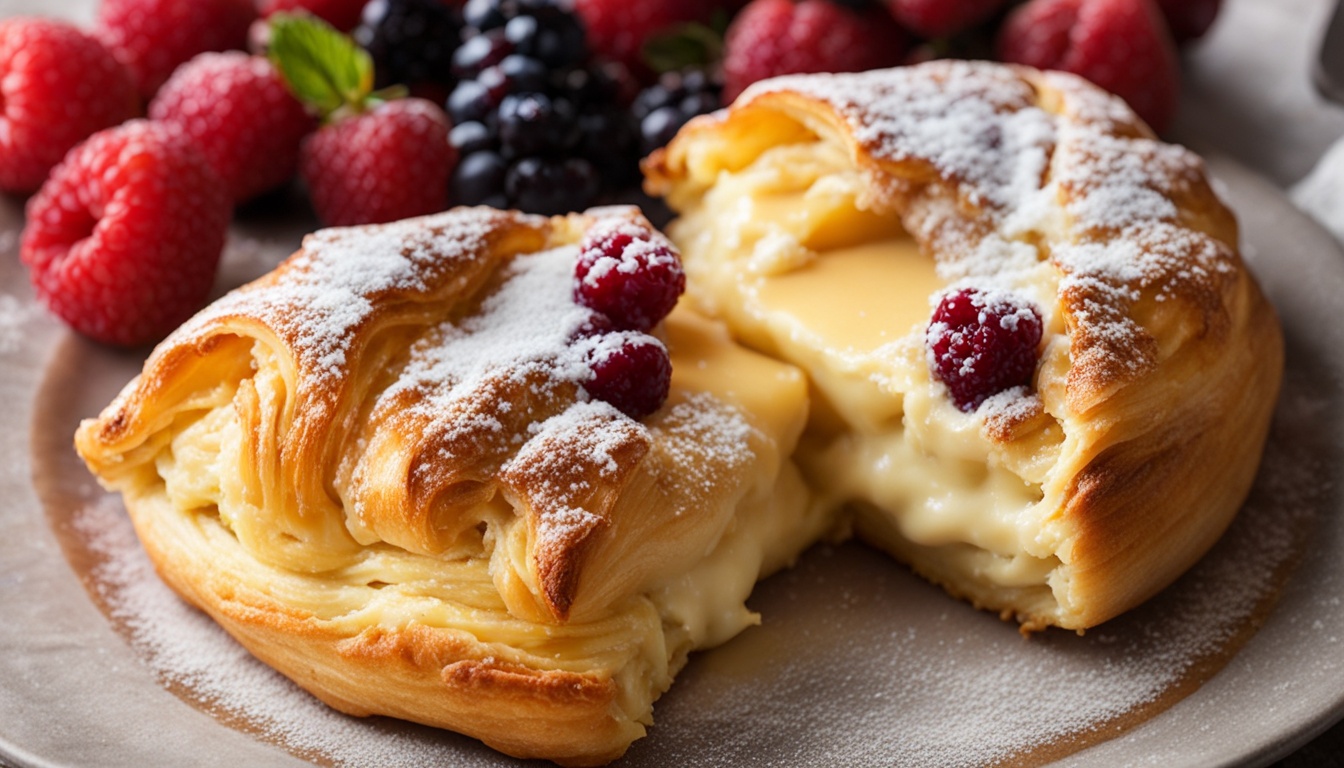
Imagine sinking your teeth into a warm, buttery danish with a smooth and creamy filling. It’s like a pocket of cheesecake or cream cheese frosting, encased in a delicate pastry. And the best part? You can make these irresistible cheese danishes in just 25 minutes. It’s the perfect addition to any breakfast or brunch spread, and it’s so easy to make that you’ll wonder why you haven’t tried it sooner.
But how can you achieve such a delicious treat in such a short amount of time? What’s the secret to creating the perfect balance of flaky pastry and creamy filling? And how does this easy homemade cheese danish compare to the ones you buy at the bakery? Let’s dive into the recipe and find out.
Ingredients for Cheese Danish
When it comes to making a delicious cheese Danish, having the right ingredients is key. Here’s a list of what you’ll need:
- Puff pastry (homemade or store-bought)
- Cream cheese
- Granulated sugar
- Lemon juice
- Vanilla extract
- An egg
- Water
- Powdered sugar
- Milk
Whether you choose to make your own puff pastry from scratch or opt for the convenience of store-bought, the flaky layers in every bite will bring this homemade cheese Danish to life. The cream cheese filling, made with a combination of cream cheese, sugar, lemon juice, and vanilla extract, adds a smooth and creamy texture that perfectly complements the buttery pastry. Brushing the pastry with an egg wash before baking gives it a beautiful golden color. Afterward, a simple glaze made by whisking together powdered sugar and milk adds the final touch of sweetness to this delectable treat.
How to Make Cheese Danish
To make these delicious homemade cheese danishes, follow these simple steps:
Step 1: Prepare the Pastry
Start by rolling out the puff pastry into a square on a lightly floured surface. Ensure that the pastry is evenly rolled to about 1/4 inch thickness. Then, cut the pastry into four equal-sized squares.
Step 2: Make the Cream Cheese Filling
In a separate bowl, mix together the cream cheese, granulated sugar, lemon juice, and vanilla extract until well combined. Take two tablespoons of the cream cheese filling and dollop it onto each pastry square, keeping the filling in the center of the square.
Step 3: Fold and Seal the Pastry
Next, fold the corners of the pastry towards the center, leaving a small space between them. This will create a triangular shape with the filling inside. Press down gently to seal the edges, ensuring that the filling is secure inside the pastry.
Step 4: Brush with Egg Wash and Bake
Brush the folded pastry with the egg wash, which consists of a beaten egg mixed with water. This will give the danishes a golden and shiny appearance. Place the danishes on a baking sheet lined with parchment paper and bake them in a preheated oven at 375°F for about 15-20 minutes, or until they turn golden brown.
Step 5: Prepare the Glaze
While the danishes are cooling, whisk together powdered sugar and milk in a small bowl to make the glaze. Adjust the consistency by adding more powdered sugar or milk as needed. The glaze should be smooth and pourable.
Step 6: Drizzle with Glaze and Serve
Once the danishes have cooled, drizzle the glaze over the top of each pastry using a spoon or a piping bag. Allow the glaze to set for a few minutes before serving.
Now, your homemade cheese danishes are ready to be enjoyed! Serve them as a delightful treat for breakfast, brunch, or as a sweet indulgence any time of the day.
Tips and Variations for Cheese Danish
When making cheese danishes, there are a few tips and variations to consider to elevate your homemade treats. To enhance the flavor, try adding a teaspoon of lemon or orange zest to the creamy filling. This citrusy twist adds a refreshing burst of flavor to every bite.
If you want to switch up the shape of your danishes, consider trying a pinwheel design instead of the traditional square shape. By simply rolling the dough and filling into a spiral, you’ll create an elegant presentation that will impress your family and guests.
After baking your cheese danishes, you might need to store them for later enjoyment. To keep them fresh, place them in an airtight container and store them in the refrigerator for up to two days. If you prefer to prepare them in advance, you can assemble the danishes up to the baking step, refrigerate them, and then bake them when you’re ready. For that just-out-of-the-oven taste, reheat the danishes in a 350°F oven until they are warm and gooey.
If you have leftover danishes or want to make a big batch, freezing them is an option. However, it’s best to freeze the assembled danishes before baking them, as freezing them with the cream cheese filling might change its texture upon thawing. Once frozen, you can bake the danishes straight from the freezer, allowing for extra baking time until they are golden brown and delicious.