Welcome to Bake With Us, where we make baking bread a breeze! Are you ready to discover a simple crusty white bread recipe that will have you ditching store-bought loaves for good? If you’ve ever dreamed of sinking your teeth into a warm, homemade slice of bread with a crispy golden crust and a soft, pillowy interior, then this article is for you. We’re about to unveil our no-fail recipe that even beginners can master. Get ready to become a bread-baking pro with our homemade bread recipes that are as easy as they are delicious.
But here’s the question that might be lingering in your mind: why bother making your own bread when you can easily buy it from the store? Believe it or not, making your own bread has numerous advantages that will make you rethink your stance on store-bought. So, let’s dig deeper and explore why making your own bread is a game-changer, and how our easy bread recipes will transform your culinary skills.
Whether you’re a novice or an experienced baker, our crusty white bread recipe will make you fall in love with the art of bread-making. It’s time to roll up your sleeves and embark on a delicious journey in your own kitchen. Let’s get started!
Why Make Your Own Bread?
Making your own bread has numerous advantages. By using a basic white bread recipe, you can create an artisan loaf that rivals the quality of bakery-bought bread. No-knead bread recipes are particularly beginner-friendly and require minimal effort. Whether you’re a novice or an experienced baker, our easy bread recipes will inspire you to create delicious homemade bread time and time again.
Benefits of Making Your Own Bread
- Quality: With a basic white bread recipe, you have complete control over the ingredients and can ensure that your bread is free from additives and preservatives.
- Artisanal Touch: By following an artisan bread recipe, you can achieve a rustic loaf with a crusty exterior and soft, airy interior.
- No-Knead, No Problem: No-knead bread recipes are perfect for beginners or busy individuals who want to enjoy fresh bread without spending hours kneading dough.
- Cost-Effective: Making your own bread can be more cost-effective in the long run, saving you money on store-bought bread.
- Aroma and Taste: There’s nothing quite like the aroma of freshly baked bread wafting through your home. And the taste? Pure satisfaction.
Whether you’re looking to experiment with different flavors or simply enjoy the process of bread-making, our beginner bread recipes will guide you on your baking journey. So why not roll up your sleeves, gather your ingredients, and start creating delicious homemade bread today?
Exploring Bread-Making
When you make your own bread, you’re not just indulging in a sensory experience; you’re also immersing yourself in a centuries-old tradition. From choosing the right flour to perfecting your shaping techniques, bread-making is a combination of science, art, and passion.
By trying different bread recipes, like our basic white bread recipe, you’ll gain confidence in the kitchen and discover the joy of creating something with your own two hands. Whether you prefer the simplicity of a classic loaf or the complexity of an artisan creation, there are endless possibilities to explore in the world of bread-making.
The Four Stages of Bread Baking
To understand the bread baking process, it’s important to familiarize yourself with the four major stages. Let’s take a closer look at each stage: mixing, proofing and shaping, baking, and storing and eating.
Mixing
The first stage of bread baking is mixing. This is where you combine flour, water, salt, and yeast to form the dough. It’s essential to measure your ingredients accurately and mix them thoroughly until a cohesive dough is formed. Mixing allows the ingredients to combine and develop gluten, which gives the bread its structure.
Proofing and Shaping
Once the dough is mixed, it’s time for proofing and shaping. Proofing is the process of allowing the dough to rise and ferment. During this stage, the yeast consumes the sugars in the dough and produces carbon dioxide, causing the dough to expand and become light and airy. Shaping the dough into the desired form, whether it’s a simple loaf or an intricate pattern, gives the bread its final shape.
Baking
After proofing and shaping, it’s time for the baking stage. Preheat your oven to the recommended temperature and place the shaped dough onto a baking sheet or in a loaf pan. The hot oven causes the dough to rise further and develop a beautiful crust. The baking process also imparts flavor and transforms the dough into a delicious, crusty bread with a soft interior.
Storing and Eating
Once the bread is baked to perfection, it’s important to store it correctly to maintain its freshness. Allow the loaf to cool completely before storing it in a breathable bag or wrapping it in a clean kitchen towel. Proper storage will help keep the bread from becoming stale or developing mold. When it’s time to enjoy your homemade bread, slice it, and savor it as is or with your favorite toppings. Share it with friends and family, or simply relish it in solitary bliss.
The Workhorse Loaf: A Versatile Recipe
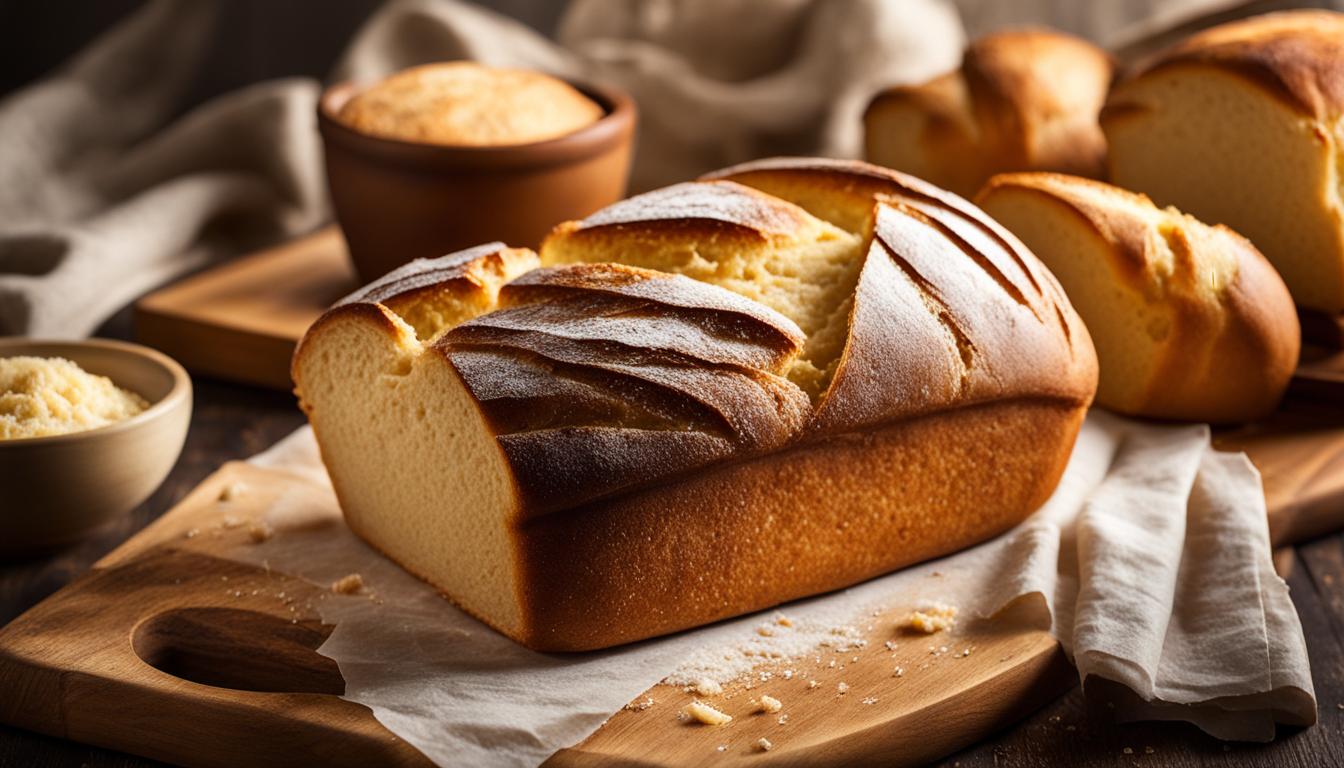
Our featured recipe is the Workhorse Loaf, a versatile bread that serves as a great starting point for your baking adventures. This simple bread formula uses only four ingredients: all-purpose flour, water, salt, and yeast. The resulting dough can be shaped into hearth loaves, used for French toast, transformed into garlic bread, or enjoyed in its classic form. The possibilities are endless with this rustic white bread recipe.
If you’re seeking a versatile bread recipe that you can easily customize to suit your palate or the occasion, look no further than the Workhorse Loaf. From savory meals to sweet treats, this bread is a blank canvas for your culinary creativity. Its soft, pillowy texture and subtle tang make it the perfect companion for a variety of dishes.
One way to enjoy the Workhorse Loaf is by shaping it into hearth loaves. These crusty breads, reminiscent of traditional European breads, are excellent for sandwiches or simply served alongside your favorite soup or salad. The golden exterior and chewy interior of a hearth loaf add depth and flavor to any meal.
If you prefer a sweeter option, the Workhorse Loaf can be transformed into delicious French toast. Soak thick slices of this bread in a mixture of eggs, milk, cinnamon, and vanilla, then fry until golden brown. Serve with a drizzle of maple syrup and a sprinkle of powdered sugar for a decadent breakfast or brunch treat.
For a savory twist, the Workhorse Loaf can be transformed into garlic bread. Slice the bread, spread a mixture of butter, minced garlic, and parsley over each slice, and bake until golden and crispy. The result is a fragrant and flavorful side dish that pairs perfectly with pasta, soups, or grilled meats.
With its versatility and simplicity, the Workhorse Loaf is a staple bread recipe that every home baker should have in their repertoire. Its soft, tender crumb and golden crust make it suitable for both everyday meals and special occasions. Whether you’re a beginner or an experienced baker, this versatile bread is sure to become a favorite in your kitchen.
Step-by-Step Instructions
To successfully make this crusty white bread, you will need a few essential bread-baking tools. Here are the key steps to follow:
Bread Baking Equipment
Before getting started, gather the necessary bread baking equipment:
- Stand mixer
- Bench scraper
- Lidded dish for baking (such as a Dutch oven)
Mixing the Dough
Begin by mixing the dough:
- In your stand mixer bowl, combine the flour, water, salt, and yeast.
- Using the dough hook attachment, mix the ingredients on low speed until they form a smooth and elastic dough.
Proofing and Shaping
Next, allow the dough to proof and shape it into loaves:
- Cover the mixing bowl with plastic wrap or a clean kitchen towel.
- Place the bowl in a warm, draft-free area and let the dough rise until it doubles in size. This usually takes about 1-2 hours.
- Once the dough has proofed, gently punch it down to release any air bubbles.
- Transfer the dough onto a lightly floured surface and divide it into equal portions for individual loaves or shape it into a single large loaf.
Baking
The final step is baking the bread:
- Preheat your oven to the desired temperature (typically around 450°F or 230°C).
- If using a lidded dish like a Dutch oven, preheat it as well.
- Carefully transfer the shaped dough into the preheated baking dish.
- Cover the dish with the lid and place it in the oven.
- Bake the bread for the recommended time, removing the lid during the last few minutes to allow the crust to brown and crisp up.
- Once the bread is baked, remove it from the oven and let it cool on a wire rack before slicing.
Your fresh, homemade crusty white bread is now ready to be enjoyed! Slice it and savor the warm, delightful aroma. Serve it as a side to soups and stews, make delicious sandwiches, or enjoy it simply with a spread of butter. Happy baking!

Tips and Tricks for Success
Working with wet dough can be challenging, but with our tips and tricks, you’ll become a bread-baking pro. Whether you’re a beginner or an experienced baker, these techniques will help you achieve bakery-worthy results in your own kitchen.
Handling Wet Dough
When dealing with wet dough, it’s important to resist the temptation to add more flour. Instead, embrace the stickiness and use a wet or oiled hand to handle the dough. This will prevent the dough from sticking to your fingers and make it easier to shape. Remember, wetter dough leads to a lighter, airier bread.
Creating Steam in the Oven
One of the secrets to achieving a crispy crust is to create steam in the oven. To do this, place a heatproof dish filled with water on the bottom rack while preheating your oven. When you transfer the dough onto the hot baking surface, the water will quickly evaporate, creating steam that helps develop a crusty exterior. Alternatively, you can spritz the dough with water using a spray bottle before baking.
Troubleshooting Common Issues
If you encounter common bread-baking issues such as a dense texture or uneven rise, don’t panic. These challenges can often be resolved with simple solutions. For denser bread, make sure your yeast is fresh and active, and double-check your measurements. If your bread isn’t rising evenly, consider shaping the dough more consistently or adjusting your proofing times. Don’t be discouraged by setbacks – troubleshooting is part of the learning process!
By following these tips and tricks, you’ll be well on your way to mastering the art of baking crusty white bread. With practice and a little patience, you’ll soon be enjoying the irresistible smell and taste of homemade bread straight from your oven.
Enjoying Your Homemade Bread
Congratulations on baking your delicious, crusty white bread! Now, it’s time to savor the incredible taste and texture of your homemade creation. There’s nothing quite like the satisfaction of biting into a warm slice straight from the oven, generously slathered with butter. The fresh bread consumption experience is unmatched, as each bite offers a heavenly blend of soft, fluffy interior and a crispy, golden crust.
But what if you can’t finish the entire loaf in one sitting? No worries! We’ve got you covered with some storage tips to keep your bread fresher for longer. To maintain its freshness, store your bread in a cool, dry place in a sealed bag or breadbox. Avoid refrigeration as it can dry out the bread. If you prefer a softer crust, wrap the loaf in a clean kitchen towel. Proper storage ensures that you can enjoy your homemade bread even days after baking it.
If you’re looking to switch things up and add some variety to your bread-making repertoire, we have a few bread recipe variations that you can try. Use the basic recipe as a starting point and get creative! You can transform your homemade bread into delectable toast for breakfast, use it to make mouthwatering sandwiches for lunch, or even turn it into cheesy garlic bread for a savory dinner side. The possibilities are endless, and experimentation is encouraged!
So go ahead and indulge in the simple pleasure of homemade bread. Whether you’re delighting in it fresh from the oven, storing it for future enjoyment, or trying out different variations, your homemade crusty white bread is sure to satisfy your cravings and impress anyone lucky enough to taste it.