Welcome to our tutorial on making your own DIY cultured buttermilk at home. Have you ever wondered how to create rich, tangy buttermilk that can elevate your cooking and baking? What if we told you that it’s incredibly easy and rewarding to make? No more relying on store-bought alternatives filled with additives and preservatives. With our easy buttermilk fermentation process, you can enjoy the benefits of homemade goodness. So, let’s dive in and discover the wonders of this DIY cultured buttermilk recipe.
But first, let’s explore why making your own buttermilk at home is the way to go. Say goodbye to costly store-bought options and hello to full control over your ingredients. Plus, creating homemade cultured dairy products is a fun and rewarding project that allows you to explore the world of homemade fermented foods. Are you ready to dive into the science behind buttermilk and discover the secrets to its tangy and probiotic nature? Let’s uncover the magic together!
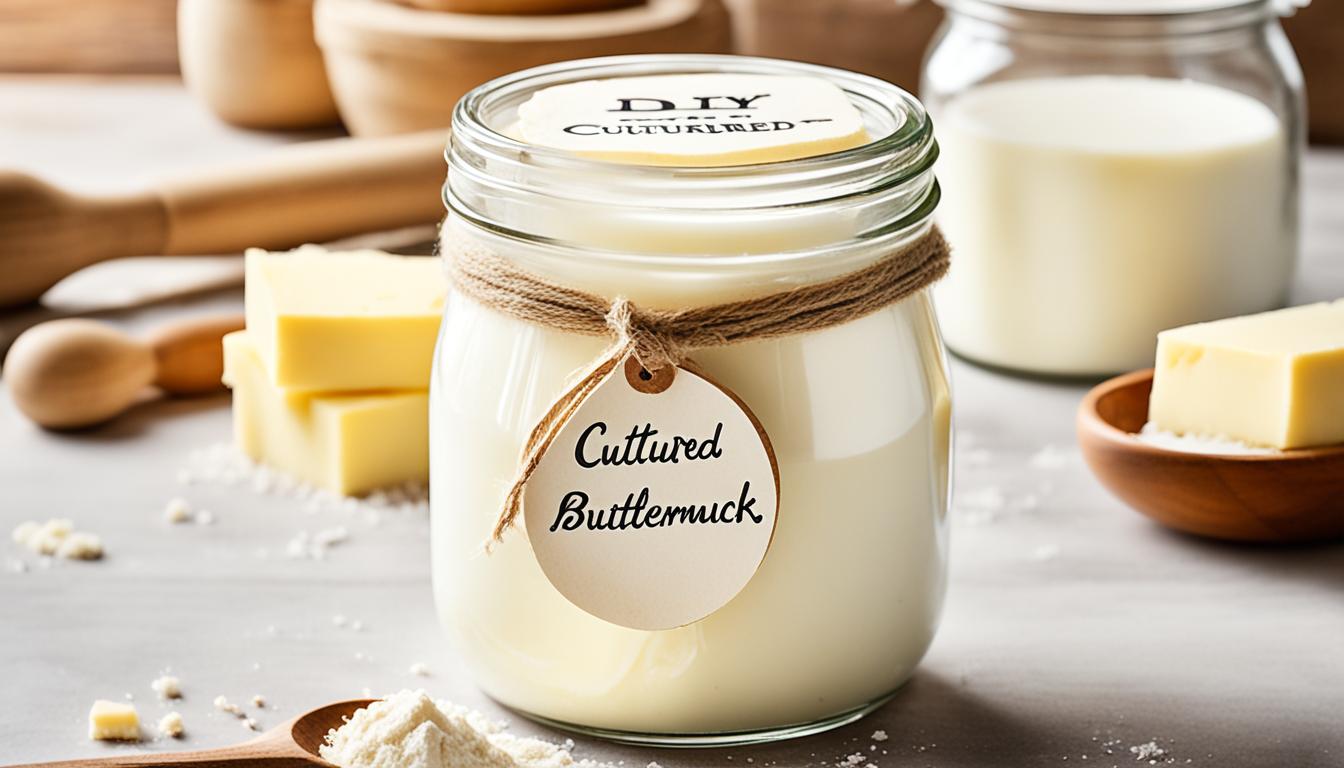
Why Make Your Own Buttermilk?
Store-bought buttermilk may contain additives and preservatives, and it can be costly. By making your own buttermilk at home, you have full control over the ingredients and can ensure a fresh, natural product. This DIY cultured buttermilk recipe is perfect for beginners, providing a simple and reliable method of creating homemade cultured dairy products that can be used in various recipes. Plus, it’s a fun and rewarding project that allows you to explore the world of homemade fermented foods.
When you make your own buttermilk at home, you eliminate the need to rely on store-bought options that often come with unnecessary additives and preservatives. By using this best buttermilk recipe for beginners, you can create a homemade cultured dairy product that is fresh, natural, and free from any unwanted ingredients. This easy and accessible process is perfect for beginners who are new to making their own buttermilk.
Not only does making your own buttermilk offer you control over the ingredients, but it is also a fun and rewarding project. Exploring the world of homemade fermented foods opens up new avenues of creativity and allows you to experiment with flavors and textures. By following this DIY cultured buttermilk recipe, you can confidently embark on your homemade cultured dairy journey.
Experience the Taste of Homemade Goodness
When you make your own buttermilk at home, you can truly taste the difference. The rich and tangy flavor of homemade cultured buttermilk elevates your cooking and baking to a whole new level. Whether you’re using it in fluffy pancakes, flaky biscuits, creamy dressings, or tenderizing marinades, the homemade touch adds a depth of flavor that is unmatched.
So why settle for store-bought alternatives when you can enjoy the benefits of homemade goodness? Take control of your ingredients, explore the world of homemade fermented foods, and experience the joy of creating your own homemade cultured dairy products with this simple and reliable DIY buttermilk recipe.
The Science Behind Buttermilk
Buttermilk, a tangy and acidic dairy product, is not only a delicious addition to recipes but also plays a crucial role in baking. Its acidity helps activate leavening agents like baking powder, baking soda, and yeast, leading to light and fluffy baked goods that rise beautifully.
In addition to its leavening properties, buttermilk contains natural emulsifiers that improve the texture, aroma, and shelf life of baked goods. These emulsifiers help bind ingredients together, resulting in a tender and moist final product. The tangy flavor of buttermilk adds a delightful depth to recipes, making them more flavorful and enjoyable.
What sets DIY cultured buttermilk apart is its probiotic nature. Similar to yogurt, buttermilk contains active cultures that contribute to a healthy gut. These live bacteria contribute to a strong immune system and aid in digestion, making buttermilk a nutritious choice for your diet.
To create buttermilk, a fermentation process is employed. This process involves the use of live cultures, which convert lactose (the naturally occurring sugar in milk) into lactic acid. The lactic acid gives buttermilk its tangy taste and creates a thick and creamy consistency.
Aside from baking, buttermilk can be used in a variety of ways. Its acidity tenderizes meat, making it an excellent marinade for chicken and pork. The richness of buttermilk provides a creamy base for salad dressings, dips, and sauces. It can even be used as a substitute for traditional milk in certain recipes, adding a unique flavor profile to dishes like pancakes and waffles.
Now that we’ve explored the science behind buttermilk, let’s move on to the easy DIY cultured buttermilk recipe that will have you creating this versatile ingredient in no time.
The Easy DIY Cultured Buttermilk Recipe
To make your own DIY cultured buttermilk, you’ll need just two ingredients: store-bought or previously cultured buttermilk and milk of your choice (skim, 1%, 2%, or whole milk). It’s a simple buttermilk making guide that anyone can follow. Here’s how you do it:
- Start by pouring the buttermilk into a clean jar. Make sure the jar is large enough to accommodate the additional milk.
- Next, top off the jar with milk, leaving some headspace for the mixture to expand during fermentation.
- Seal the jar tightly and give it a vigorous shake to mix the buttermilk and milk together.
- Now, find a warm spot in your kitchen, like on top of the fridge or near a warm appliance, and place the jar there.
- Allow the mixture to sit undisturbed in the warm area for 12 to 24 hours, or until it thickens. The easy buttermilk fermentation process occurs as the bacteria in the buttermilk culture the milk.
- Once the desired thickness is achieved, refrigerate the jar of thickened buttermilk. It will keep well for up to two weeks.
- If you want to continue making your own buttermilk, you can use a portion of the homemade cultured buttermilk to start the next batch. Simply repeat the process regularly, and you can carry on with the easy buttermilk fermentation indefinitely.
It’s important to note that the thickness of your homemade cultured buttermilk may vary depending on the type of milk used. Skim milk will result in a thinner consistency, while whole milk will yield a richer, creamier texture. Feel free to experiment with different milk options to find your preferred consistency.
Variations and Uses for Cultured Buttermilk
Homemade cultured buttermilk is incredibly versatile and can be used in a variety of recipes. It adds a unique tangy flavor and creamy texture to both sweet and savory dishes. Let’s explore some creative and delicious ways to use up your homemade cultured buttermilk:
1. Flaky Homemade Buttermilk Biscuits
Buttermilk is a key ingredient in creating perfect, flaky biscuits. The acidity of the buttermilk interacts with the leavening agents in the dough, resulting in light and tender biscuits. Serve them warm with butter and jam for a comforting breakfast or alongside a hearty meal.
2. Bacon and Swiss Rye Muffins
Give your muffins a tangy twist by incorporating cultured buttermilk into the batter. The combination of smoky bacon, Swiss cheese, and tangy buttermilk creates a delightful flavor profile. These savory muffins make a great grab-and-go breakfast or a tasty addition to your lunchbox.
3. Grandma’s Buttermilk Cornbread
For a taste of nostalgia, try using homemade cultured buttermilk in Grandma’s classic cornbread recipe. The buttermilk adds a moist and tender crumb while balancing the sweetness of the cornmeal. Serve it alongside a comforting bowl of chili or enjoy it as a standalone snack.
4. Light and Airy Buttermilk Pancakes
Create fluffy and light pancakes by incorporating your homemade cultured buttermilk into the batter. The acidity of the buttermilk reacts with the baking powder, resulting in tall and airy pancakes. Top them with fresh berries, maple syrup, or your favorite toppings for a delightful breakfast treat.
5. Tangy Buttermilk Marinades and Dressings
Use your homemade cultured buttermilk as a base for tangy marinades or dressings. Its acidity helps tenderize meat while adding a delightful tang. Combine buttermilk with herbs, spices, and your favorite seasonings to create flavorful marinades for chicken, pork, or even vegetables. It also makes a delicious and creamy dressing for salads or coleslaw.
With these variations and uses, your homemade cultured buttermilk will never go to waste. Whether you’re baking flaky biscuits, whipping up tangy dressings, or enjoying light and airy pancakes, this versatile ingredient will elevate your dishes with its rich flavor and creamy texture. Get creative and explore the endless possibilities of homemade cultured buttermilk!
Culturing Tips and Storage
When it comes to culturing buttermilk at home, there are a few essential tips and storage guidelines to ensure the best results and longevity of your homemade goodness.
Tips for Culturing Buttermilk:
- Keep the buttermilk away from other cultured or fermented foods to prevent cross-contamination and preserve its unique flavors.
- The ideal culturing temperature for buttermilk is around 76°F (24°C). Look for warm spots in your kitchen, such as on top of the fridge or near a warm appliance, to create the perfect environment for fermentation.
- If the ambient temperature is cooler, the clabbering process may take longer than expected. Patience is key, and it’s worth waiting for the thickening and tanginess to develop.
- Regularly monitor the consistency of your homemade cultured buttermilk during the culturing process. Once it reaches the desired thickness, it’s time to move on to the next step.
Storing Homemade Buttermilk:
After your homemade cultured buttermilk has reached the desired thickness, it’s essential to store it correctly to maintain its freshness and quality.
- Refrigerate your thickened buttermilk for at least 6 hours to halt the culturing process. This step ensures that the buttermilk maintains its texture and flavors.
- Before using your homemade cultured buttermilk, give it a good stir to evenly distribute any separation that may have occurred during storage.
- Your homemade buttermilk should stay fresh in the refrigerator for up to two weeks. Use it in your favorite recipes to enjoy the tangy, creamy goodness it brings.
- If you wish to extend the shelf life and have a continuous supply of homemade buttermilk, consider regularly re-culturing a portion of your existing batch and discarding the excess. This practice will ensure that you always have a fresh supply of this versatile ingredient on hand.
By following these culturing tips and proper storage practices, you can enjoy the benefits of homemade buttermilk in your cooking and baking endeavors. Embrace the tangy flavors and versatility that this DIY cultured buttermilk brings to your culinary creations.
Conclusion and Final Thoughts
Making your own DIY cultured buttermilk is a simple and rewarding process that allows us to enjoy the benefits of homemade goodness. By following this easy buttermilk fermentation method, we can have a constant supply of tangy and probiotic-rich buttermilk for all our culinary creations.
It’s fascinating to experiment with different recipes and discover the versatility of homemade cultured buttermilk. From fluffy buttermilk biscuits to tangy marinades and dressings, the possibilities are endless. And the best part is that it’s a cost-effective and sustainable option compared to store-bought alternatives.
So why not give it a try and elevate your cooking with this homemade staple? With just a few simple steps, you can enjoy the delicious results and the satisfaction of creating something truly special in your own kitchen. Say goodbye to the hassle of buying buttermilk and embrace the joy of homemade buttermilk. Cheers to homemade goodness!