Have you ever wondered how to make butter from scratch? Or thought that churning butter was a complicated and time-consuming process? Well, we’re here to debunk that myth and show you just how easy it is to make your own homemade butter right in your own kitchen.
Forget the store-bought stuff with added preservatives and artificial flavors. With our simple step-by-step guide, you can churn your own butter using just a few ingredients and basic equipment. No fancy equipment or culinary expertise required!
Whether you’re a culinary enthusiast looking to try your hand at making dairy products from scratch or someone who loves the taste of fresh, artisanal butter, this guide is for you. We’ll walk you through the entire process – from separating the cream to rinsing off the buttermilk – so you can enjoy the satisfaction of creating your own delicious and creamy butter.
So, are you ready to embark on a culinary adventure and learn how to make butter like a pro? Let’s dive in and discover the easy, step-by-step process of making homemade butter from scratch.
Ingredients and Equipment for Making Butter
Making homemade butter is a simple and rewarding process that requires just a few ingredients and some basic equipment. Let’s take a look at what you’ll need to get started.
Ingredients
The main ingredient for making butter is heavy cream or heavy whipping cream. It’s important to use heavy cream instead of milk because milk doesn’t have enough fat content to yield butter. You can find heavy cream in most grocery stores or local dairy farms.
While not necessary, you may also choose to add salt to your butter for an extra burst of flavor. This is entirely optional and can be adjusted to your personal taste preferences. You can use regular table salt or experiment with different types of gourmet salts for a unique twist.
Equipment
Having the right equipment can make the butter-making process much easier and more efficient. Here are a few options:
- A stand mixer is a popular choice that offers convenience and speed. It allows you to effortlessly whip the cream and monitor the progress. Plus, it’s hands-free, allowing you to focus on other tasks.
- A hand mixer is another great option if you don’t have a stand mixer. It offers similar benefits, but you’ll need to hold and maneuver the mixer manually.
- If you don’t have an electric mixer, you can use a blender. Simply pour the cream into the blender and blend it on a medium setting until it separates into butter and buttermilk. Manual blending may take a bit longer, but the result will be just as delicious.
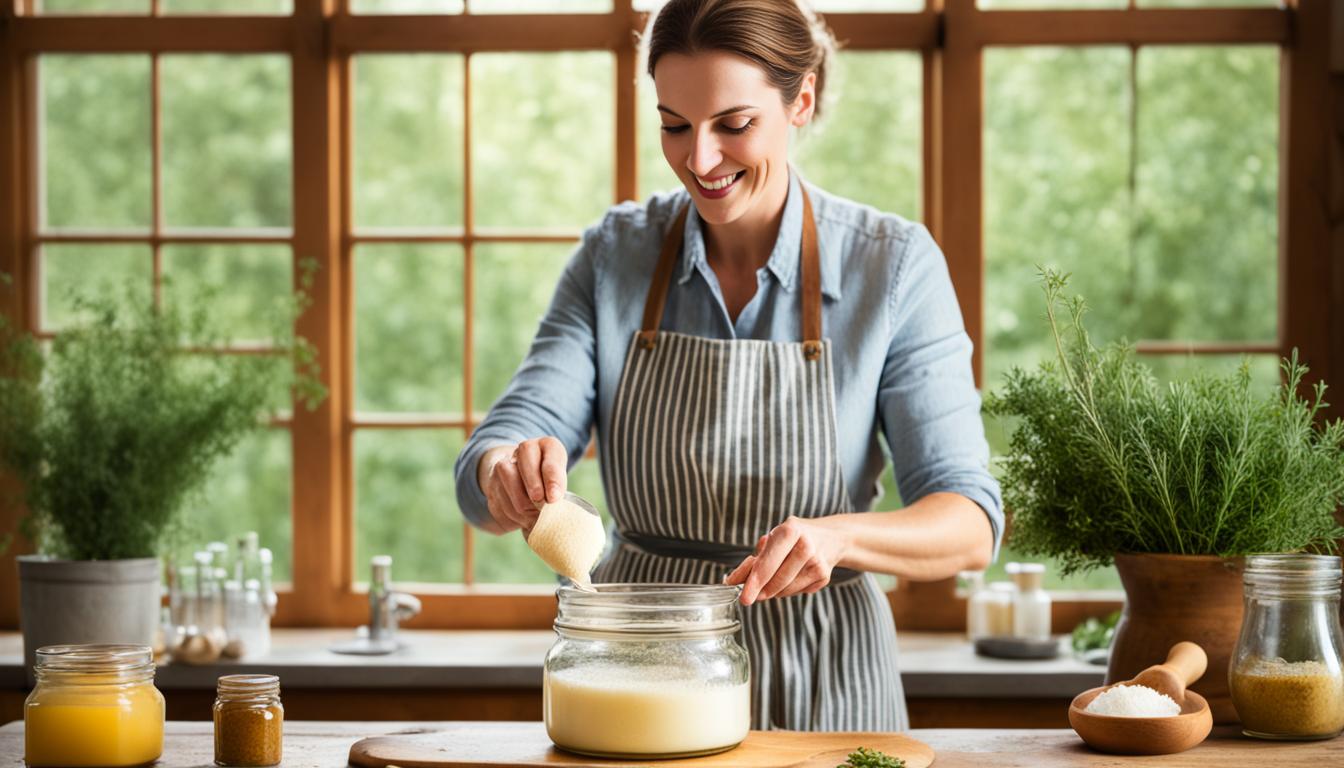
- For a more traditional approach, you can use a mason jar. Fill a jar halfway with cream and tightly seal the lid. Shake the jar vigorously until the cream thickens and separates into butter and buttermilk. It’s a fun and hands-on method, especially for kids.
Whatever equipment you choose, remember that the most important part is enjoying the process and creating your own homemade butter. Let’s move on to the next section for a step-by-step guide on how to make butter from scratch!
Step-by-Step Guide to Making Butter
Follow these step-by-step instructions to make homemade butter:
-
Pour the whipping cream into a mixing bowl or the bowl of your mixer.
-
Start beating the cream on low speed, then gradually increase to medium-high as it thickens.
-
Continue mixing until the cream separates into solid butter fats and liquid buttermilk.
-
Strain the mixture to separate the butter from the buttermilk.
-
Rinse the butter under cold water to remove any remaining buttermilk and improve its shelf life.
-
Optional: Add salt or other seasonings to taste.
Tips for Storing and Flavoring Homemade Butter
When it comes to storing homemade butter, you have a couple of options to choose from. You can either keep it at room temperature or refrigerate it, depending on your preference. If you decide to store it at room temperature, make sure to rinse off the buttermilk thoroughly and add salt. These steps help to preserve the butter’s freshness and extend its shelf life.
If your home tends to get above 75 degrees Fahrenheit, it is recommended to refrigerate the butter to prevent spoilage. When refrigerating homemade butter, consider using a butter bell for an airtight seal. This will help keep the butter fresh for longer periods.
One of the joys of making homemade butter is the ability to customize its flavor. You can experiment with a variety of seasonings and flavors, such as herbs, spices, or infused oils, to create unique and delicious butter blends. Whether you prefer a savory or sweet taste, the possibilities are endless.
So go ahead and start creating your own delicious and artisanal butter in the comfort of your own kitchen. With these tips for storing and flavoring, you can enjoy the satisfaction of making butter that suits your taste and ensures its freshness for whenever you’re ready to savor its rich, creamy goodness.