Have you ever wondered how much liquid is ideal for braising? Is there a secret formula for achieving perfectly tender meat and flavorful sauce? We’re here to answer your burning questions!
When it comes to braising, finding the right balance of liquid is crucial to creating a mouthwatering dish. But it’s not as simple as adding a specific amount of liquid to the pot. The ideal braising liquid amount depends on several factors that affect both the texture of the meat and the intensity of the flavors.
So, how much liquid is enough? And how can you determine the perfect braising liquid quantity for your recipes? Let’s dive into the science of braising and explore some tips and tricks from the Food Lab.
By understanding the role of the braising liquid and following a few guidelines, you’ll be well on your way to mastering the art of braising. Get ready to elevate your cooking to the next level!
How to Determine the Ideal Braising Liquid Quantity
To create a perfectly braised dish, it’s crucial to find the right balance of liquid. Determining the ideal braising liquid quantity can seem like a daunting task, but with a few guidelines, you can achieve excellent results every time.
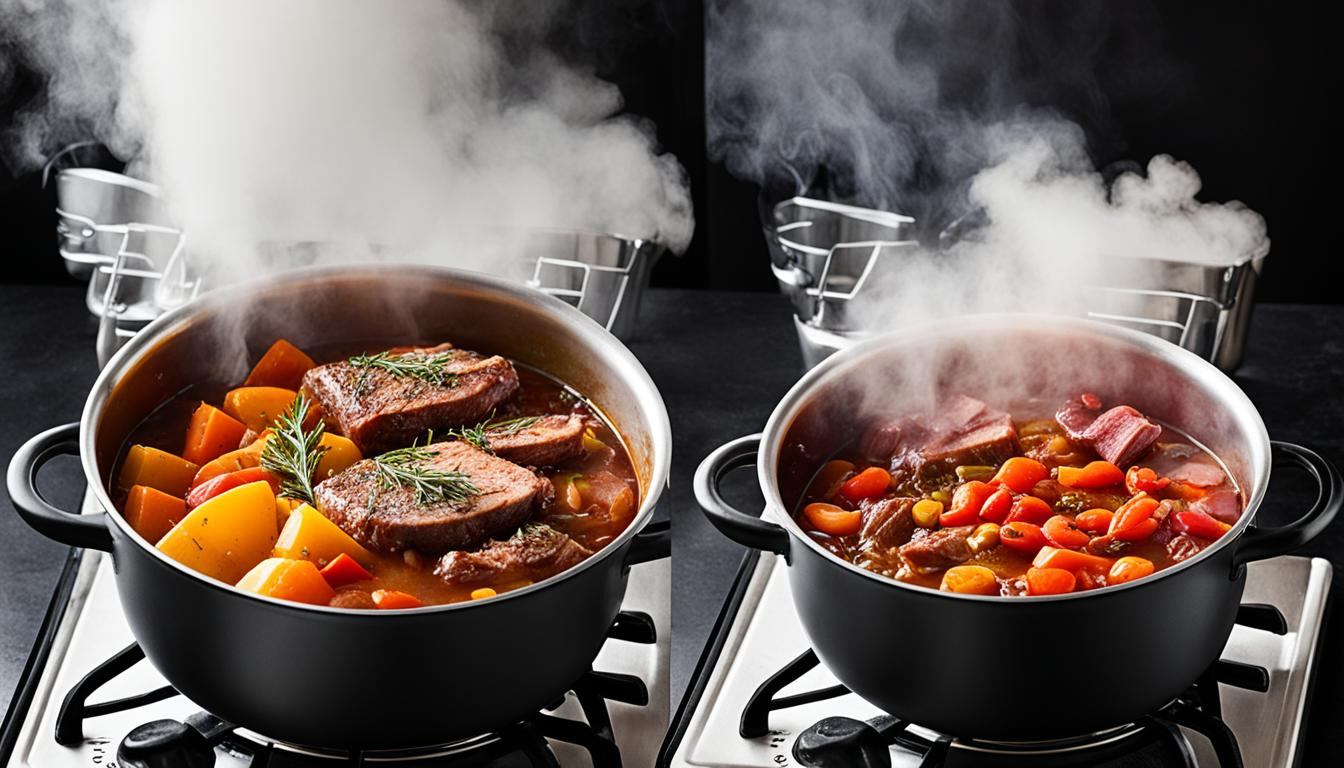
When it comes to calculating the best braising liquid ratio, Serious Eats recommends using enough liquid to come halfway up the meat. This ensures that the meat stays moist and tender throughout the cooking process. With enough liquid, the meat is surrounded by a flavorful bath that allows for proper cooking and development of rich flavors.
The size of the braising vessel and the potential for evaporation must also be considered. To prevent the braising liquid from completely evaporating, use a tight-fitting lid and periodically check the level of the liquid. This will help maintain the desired consistency and prevent the dish from becoming dry or too concentrated.
Another factor to consider is the desired sauce consistency. If you prefer a thicker sauce, start with less liquid, allowing for more reduction at the end. Conversely, if you prefer a thinner sauce, start with more liquid and reduce it less. This flexibility allows you to adapt the braising liquid quantity to suit your personal preference and the specific recipe you’re following.
Remember, the perfect braising liquid volume can vary depending on factors such as the type of meat and the flavor profile you want to achieve. It’s important to experiment and adjust the liquid amount based on your personal taste and the specific requirements of the dish. By following these guidelines and making adjustments along the way, you’ll be able to determine the ideal braising liquid quantity for each culinary masterpiece you create.
In Summary:
- Use enough liquid to come halfway up the meat when braising.
- Consider the size of the braising vessel and the potential for evaporation.
- Check the braising liquid periodically to prevent complete evaporation.
- Adjust the liquid amount based on desired sauce consistency.
- Experiment and make adjustments based on personal taste and recipe requirements.
The Importance of Browning and Color in Braising
Browning the meat before braising is an essential technique that adds depth of flavor to your braised dishes. The Maillard reaction, which occurs when meat is seared at high heat, produces a rich, roasted flavor that enhances the overall taste of the meat. This reaction creates a chemical transformation that amplifies the savory notes and builds layers of complexity. By browning the meat, you are unlocking a world of flavors in your braised dishes.
While browning is typically associated with high-heat cooking methods like grilling and searing, it also plays an integral role in the braising process. Even when braising at lower temperatures, you can still achieve some degree of browning. When you braise with a moderate amount of liquid, the exposed areas of the meat have the opportunity to undergo the Maillard reaction and develop those desirable flavors. This browning not only enhances the taste but also contributes to the beautiful color of the dish, making it visually appealing.
By searing the meat before adding it to the braising liquid, you maximize the flavor and color development. The caramelization formed during the searing process not only adds complexity but also aids in building a robust sauce. The browned bits left behind in the pan, known as fond, dissolve into the braising liquid, intensifying the flavors and creating a cohesive taste experience. This careful attention to browning allows you to elevate your braised dishes, taking them from good to exceptional.
So, next time you embark on a braising adventure, remember the importance of browning. Take the time to sear your meat, allowing it to develop a rich, flavorful crust. Not only will this step enhance the taste, but it will also provide a visually stunning dish that is sure to impress.
Braising Time and Temperature Considerations
When it comes to braising meat, the time and temperature are crucial factors that directly affect the tenderness of the final dish. Collagen, the connective tissue responsible for the chewiness of tough cuts, transforms into gelatin as it is exposed to heat over an extended period. Higher temperatures expedite this breakdown process, resulting in quicker tenderization. However, it’s important to note that higher temperatures can also cause the meat to lose its juiciness and become dry.
On the other hand, slow cooking at lower temperatures, such as oven or slow cooker braising, allows the collagen to gradually break down, resulting in moist and tender meat. This method provides ample time for the collagen to convert into gelatin without depleting the meat’s moisture. Achieving the perfect balance of time and temperature is essential, as it ensures the desired tenderness while preserving the juiciness of the meat.
When tenderizing meat through braising, it’s crucial to tailor the time and temperature to the specific cut being used. Different cuts have varying levels of collagen and require different levels of tenderness. By understanding the ideal braising time and temperature for each cut, home cooks and professional chefs alike can turn tough cuts into succulent, melt-in-your-mouth dishes.