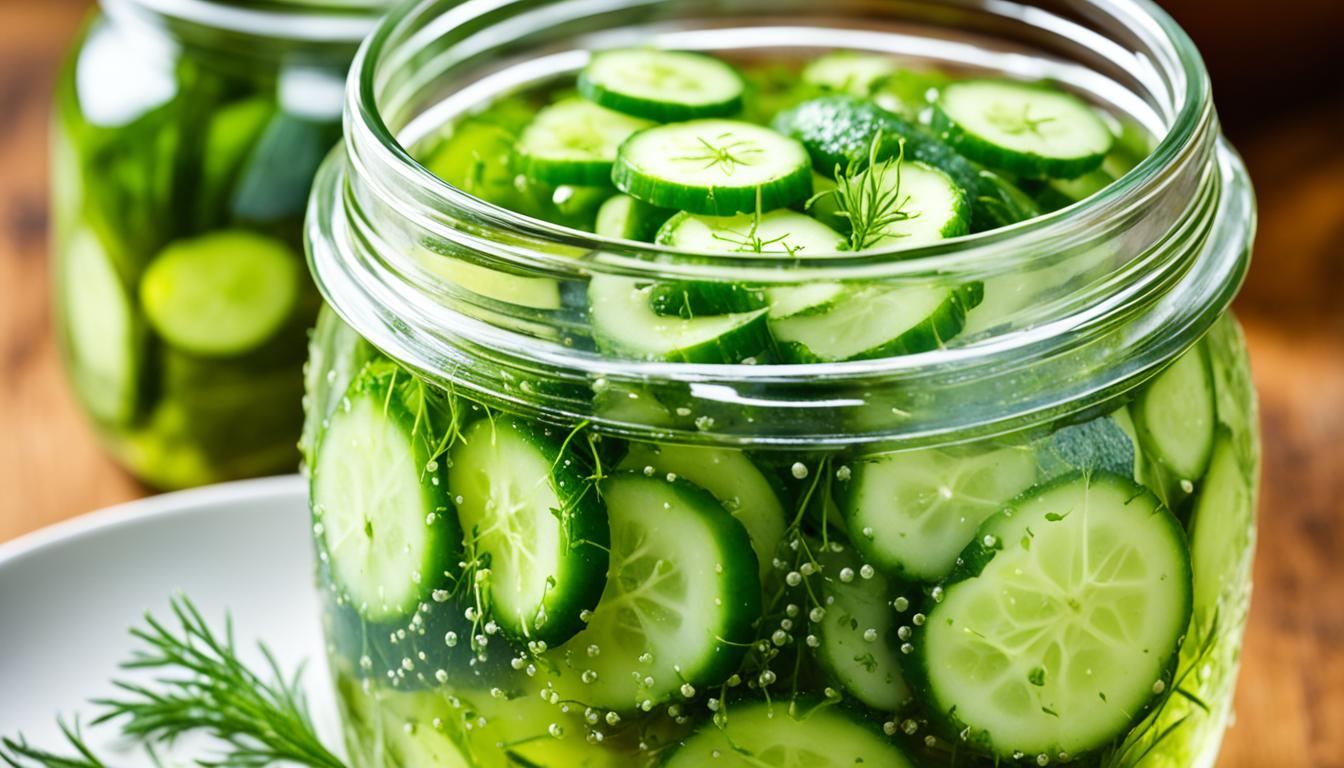
Do you want to learn the secret to making the most delicious and crunchy dill pickles right in your own kitchen? Look no further than the Milwaukee dill pickles cucumber recipe, a traditional pickle canning method that will elevate your pickling game to the next level. But before you start, do you really know the best pickling ingredients and the homemade pickling process? Let’s dive in and uncover the secrets behind preserving cucumbers in brine and unlocking the perfect pickle flavor.
Many pickle aficionados believe that the success of a great pickle lies in the pickle brine. Are they right? Is it really that simple? While the brine plays a crucial role in flavor, it’s just one piece of the puzzle. The Milwaukee dill pickles cucumber recipe takes into account the right vinegar, the perfect cucumber selection, and the correct salt choice to achieve the desired taste and texture. A pickle so succulent and crisp, it will have your taste buds dancing with delight.
Join us as we take a deep dive into the steps of the pickle making tutorial and explore the variations of the Milwaukee pickle recipe. From the initial process of sterilizing your jars to the final step of storing your delicious dill pickles, we’ve got you covered with insider tips and tricks to ensure your pickles turn out perfect every time.
How to Can Pickles
When it comes to preserving the delightful flavors of pickles, canning is the way to go. By following a few simple steps and gathering the necessary canning supplies, you can create jars full of tangy, crunchy pickles that will last for months. Whether you’re a novice or experienced pickler, here’s a comprehensive guide on how to can pickles that guarantees delicious results every time.
Gather Your Canning Supplies
Before you embark on your pickle-making journey, make sure you have all the necessary canning supplies on hand:
- A large nonreactive bowl
- A Dutch oven
- Wide-mouth pint jars with lids
- A steam canner
Having these tools readily available will streamline the canning process and ensure that your pickles are sealed perfectly.
Choosing the Right Cucumbers
Pickling cucumbers, also known as canning cucumbers, are the ideal variety for making pickles. Look for firm, bumpy cucumbers with a vibrant green color. These cucumbers have a crisp texture and hold up well during the canning process, resulting in that satisfying crunch with every bite.
Soaking the Cucumbers
Before you begin canning, it’s essential to soak the cucumbers in a mixture of salt and ice for a few hours. This step removes any excess moisture from the cucumbers, ensuring your pickles aren’t too watery. It also enhances the texture and flavor of the final product.
Making the Vinegar Mixture
The vinegar mixture is the key to achieving the perfect balance of sweet, tangy, and savory flavors in your pickles. Combine sugar, water, white vinegar, cider vinegar, and a selection of spices like mustard seed and celery seed. Experimenting with different spice combinations can lead to unique and delicious pickle variations.
Filling the Jars
Once you’ve prepared your cucumber mixture and vinegar concoction, it’s time to fill the sterilized jars. Carefully pack the cucumbers into the jars, leaving some headspace at the top. Then, pour in the hot pickling liquid, ensuring that all the cucumbers are submerged. This step ensures that every pickle absorbs the wonderful flavors of the brine.
Canning Process
After filling the jars, it’s time to process them in either a steam canner or boiling water bath. Follow the recommended processing time to ensure that your pickles are safely preserved. This step seals in the flavors and maintains the quality of the pickles for an extended period.
Check the Seals and Store
After the canning process is complete, check the seals on the jars to ensure they are properly closed. An unsealed jar should be refrigerated and consumed within a month. Properly sealed jars can be stored in a cool, dark place and enjoyed for up to a year.
Now that you know how to can pickles, it’s time to put your newfound knowledge to use. Whether you’re craving classic dill pickles or exploring unique flavor combinations, pickling cucumbers is a rewarding and delicious culinary adventure.
Tips for Canning Pickles
Properly sealing your jars is crucial when canning pickles. Ensure that the lids have a slight concave shape and do not pop or spring up when pressed. This indicates a successful seal and helps maintain the quality of your pickles.
Once sealed, unopened canned pickles can be stored for up to a year, allowing you to enjoy your homemade pickles throughout the seasons. However, once opened, it is essential to refrigerate the jars and consume the pickles within a month to prevent spoilage.
To identify signs of spoilage, pay attention to any abnormalities in the pickles or jar. Look for a bulging lid, color change in the pickles, cloudiness in the brine, white film or foam, mold growth, or strange smells. If any of these signs are present, it is best to discard the pickles to avoid consuming them.
If you prefer using jars of different sizes for your canning needs, keep in mind that the processing time may vary. Larger jars might require longer processing times to ensure safe preservation and achieve the desired taste. Adjust your canning process accordingly when using different jar sizes.
If you don’t have a canner on hand, don’t worry! You can still can pickles using a deep stock pot and a metal or silicone rack. This alternative method allows you to achieve the same results without the need for specialized equipment.
For those who prefer a quicker method, consider making quick pickles or refrigerator pickles. These recipes do not require canning and are ready to enjoy after a short period of marinating. Quick pickles and refrigerator pickles offer a convenient and delicious way to savor the flavors of pickles without the need for canning.
