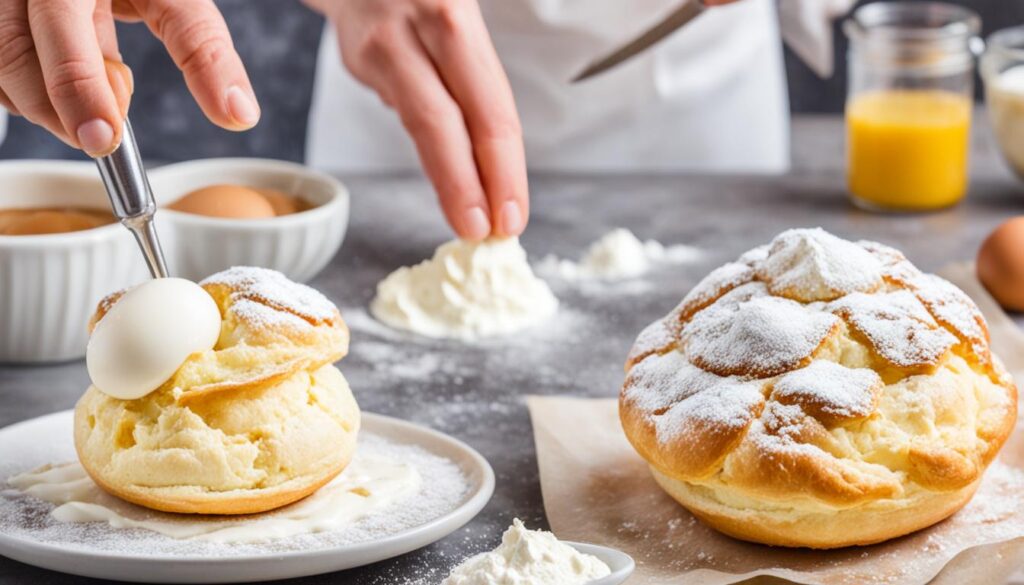
Are you in search of the best cream puffs? Look no further! We have the ultimate homemade cream puffs recipe that will satisfy your cravings for these delightful pastries. Get ready to indulge in the heavenly combination of airy choux pastry and delectable cream fillings. Whether you’re a cream puff connoisseur or a newbie to this classic French treat, our foolproof recipe will guide you every step of the way.
Cream puffs are known for their round, ball-shaped pastry shells that can be filled with a variety of delicious creams. But what sets our recipe apart, making it the best cream puffs you’ve ever tasted? It’s all about the perfect balance of lightness and sweetness. Our choux pastry puffs are baked to golden perfection, with a crispy exterior that gives way to a hollow and delicate interior. And the cream puff filling? It’s a creamy dream come true, whether you prefer traditional whipped cream or a more stable cream cheese filling.
But wait, that’s not all! We’ll also share troubleshooting tips to help you avoid common pitfalls, such as collapsed cream puffs. Plus, we’ll delve into make-ahead and storage tips, so you can enjoy these delightful treats anytime, anywhere. Are you ready to embark on a journey of cream puff bliss? Let’s dive right in and discover the secrets to creating the perfect cream puffs!
How to Make Choux Pastry Puffs
Creating choux pastry puffs for your cream puffs is a straightforward process that yields impressive results. Let’s walk through the steps:
Gather Your Ingredients
Start by collecting your ingredients for the choux pastry dough. You’ll need:
- Water – used to create steam and moisture for the dough.
- Butter – adds richness and flavor to the puffs.
- Sugar and Salt – provides a subtle sweetness and enhances the overall taste.
- Flour – serves as the base for the dough, giving it structure.
- Eggs – incorporate air and provide the puffiness in the final product.
Prepare the Choux Pastry Dough
To make the choux pastry dough, follow these steps:
- In a saucepan, combine the water, butter, sugar, and salt. Bring the mixture to a simmer over medium heat, stirring until the butter is fully melted.
- Add the flour all at once and vigorously stir until the mixture forms a smooth paste.
- Remove the pan from heat and let the dough cool for a couple of minutes.
- Add the eggs, one at a time, beating well after each addition. The dough will become sticky and stretchy.
Shape and Bake the Puffs
Now it’s time to shape and bake your choux pastry puffs:
- Preheat your oven to the recommended temperature. This ensures that the puffs bake evenly and rise properly.
- Using a piping bag or spoon, portion out the dough onto a baking sheet lined with parchment paper. Shape them into small rounds or any desired shape.
- Bake the puffs in the preheated oven until they turn golden brown and are dry to the touch. Avoid opening the oven door during baking to prevent them from collapsing.
- Remove the puffs from the oven and let them cool completely before filling.
When properly baked, choux pastry puffs should be hollow and have a crispy exterior. They are now ready to be filled with your choice of delicious cream puff filling.
How to Make Cream Puff Filling
Now that you have mastered the art of creating the perfect choux pastry puffs, it’s time to move on to the delicious cream puff filling. There are two options you can choose from: regular whipped cream or a stabilized version. Both will result in a delectably light and creamy center for your cream puffs.
Making Regular Whipped Cream
To make regular whipped cream, you will need heavy cream and powdered sugar. Begin by chilling the heavy cream in the refrigerator for at least 30 minutes. This ensures that the cream whips up quickly and to the desired consistency.
Once the cream is chilled, transfer it to a mixing bowl. Add in the powdered sugar, adjusting the amount to your desired level of sweetness. Start whipping the cream using a whisk or an electric mixer on medium speed. Gradually increase the speed to high, whipping until soft peaks form. Be careful not to over-whip, as the cream may become grainy.
This light and fluffy whipped cream is perfect as a filling for your cream puffs. Its airy texture provides a delightful contrast to the crisp pastry shells.
Making Stabilized Whipped Cream
If you’re looking for a cream puff filling that holds its shape for longer periods of time, stabilized whipped cream is the way to go. This version incorporates cream cheese, powdered sugar, and heavy cream to create a thicker and more stable filling.
Begin by beating the cream cheese and powdered sugar together in a mixing bowl until smooth and creamy. In a separate bowl, whip the heavy cream until soft peaks form. Then, gradually add the whipped cream to the cream cheese mixture, continuing to whip until the filling is thick and holds its shape.
This stabilized whipped cream is perfect for those who want to make their cream puffs ahead of time or prefer a filling that won’t deflate quickly. It retains its structure, allowing you to enjoy your cream puffs for a longer period without compromising on taste and texture.
If you’re feeling creative, the cream puff filling can be easily customized with different flavors. Try adding chocolate, berry puree, or crushed cookies to create unique and delicious variations. The possibilities are endless!
Now that you know how to make the perfect cream puff filling, it’s time to assemble your cream puffs and enjoy their light and airy goodness. Let your imagination run wild with various flavor combinations and decorations to create a dessert that will impress your friends and family.
Troubleshooting Tips for Perfect Cream Puffs
Cream puffs are a delightful treat, but they can sometimes encounter issues during the baking process. Understanding the common problems and learning how to troubleshoot them will help you achieve perfectly light and delicious cream puffs. Here are some tips to address three common cream puff dilemmas:
1. Collapsed Cream Puffs:
Collapsed cream puffs can be a result of various factors. One common reason is the oven not being hot enough. Ensure that you preheat your oven properly to the recommended temperature before baking. Additionally, under-baked cream puffs can lead to collapse. Make sure to bake them for the required amount of time, or even longer if they still appear moist. Lastly, avoid covering the cream puffs before they have completely cooled. Trapped steam can cause them to deflate. Allow your cream puffs to cool entirely before storing or covering them.
2. Under-Baked Cream Puffs:
If you find that your cream puffs are under-baked, they will lack the desired crispness and may appear doughy inside. To prevent under-baking, ensure that your oven is at the correct temperature before you begin. Additionally, follow the recommended baking time, but if the puffs still seem moist, extend the baking time slightly until they are completely dry and have a golden brown color. Properly baked cream puffs will have a tender, yet airy interior and a crispy exterior.
3. Over-Baked Cream Puffs:
Over-baking cream puffs can result in them becoming too dry and crunchy. To avoid this, closely monitor the baking time and be cautious not to exceed it. Every oven is slightly different, so it may be necessary to adjust the baking time accordingly. Remember to keep an eye on the cream puffs during the last few minutes of baking to ensure they do not become overly browned. The ideal cream puff has a delicate balance of crispness on the outside and a soft, moist interior.
By following these troubleshooting tips, you can overcome common challenges and achieve the perfect cream puffs every time. Now that we’ve covered the potential obstacles, let’s move on to the next section to learn about make-ahead and storage tips for your delicious creations.

Make-Ahead and Storage Tips for Cream Puffs
Now that you’ve mastered the art of making delicious cream puffs, you may be wondering how to store them for later enjoyment. Luckily, you have several options to ensure your cream puffs stay fresh and tasty.
If you plan to enjoy your cream puffs within a few days, you can store them at room temperature in an airtight container. This will help maintain their light and crispy texture. Alternatively, you can refrigerate them for 5 to 7 days, which will keep them fresh for a little longer.
If you want to extend the shelf life of your cream puffs, freezing is the way to go. Simply place the cream puffs in a freezer-safe container or bag, making sure to seal them tightly. They can be stored in the freezer for a couple of months without compromising their flavor or texture.
When you’re ready to enjoy your frozen cream puffs, simply thaw them at room temperature until they are soft and ready to be devoured. To make them even more enticing, consider adding a drizzle of berry coulis, a rich chocolate ganache, or a delectable salted caramel sauce.
