Are you tired of cooking a whole turkey? Want to savor the delicious flavors of both white and dark meat? Look no further! Our turkey in parts recipe is the answer to your cravings. Whether you’re a fan of succulent turkey breast or prefer the rich juiciness of turkey thighs, this recipe allows you to enjoy the best of both worlds. Discover how to cook turkey parts to perfection and create an easy, juicy turkey recipe that will leave your taste buds begging for more.
Don’t miss out! Read on to learn the secrets of roasting turkey parts, including a dry brine method that enhances flavor without the mess, a trick for achieving crispy skin, and tips for adjusting cooking times based on your preferences for dark or white meat. Plus, we’ll share our recipe for the perfect spice rub and show you how to make delectable gravy from the drippings. Get ready to impress your family and friends with this mouthwatering roasted turkey recipe.
The Benefits of a Dry Brine
A dry brine is a game-changer when it comes to adding flavor and moisture to your turkey. Unlike a wet brine, which involves submerging the turkey in a liquid mixture, a dry brine is much simpler and less messy.
With a dry brine, you simply apply a spice rub directly onto the turkey, allowing it to infuse with the meat for up to two days before cooking. This not only imparts incredible flavor but also helps to lock in moisture, resulting in a juicy and tender turkey.
The beauty of a dry brine is that it can be done in advance, making it a convenient option for meal planning. With a wet brine, you need to find a large container to hold the turkey and the brining liquid, which can be cumbersome and take up valuable refrigerator space. But with a dry brine, all you need is a Ziploc bag or airtight container to hold the turkey and the spice rub, saving you from the mess and hassle of dealing with a liquid brine.
So, why not give the dry brine method a try? It’s a simple and effective way to enhance the flavor and juiciness of your turkey without the need for a traditional wet brine. Plus, with the delicious combination of spices in the rub, your turkey is sure to be a showstopper at your next meal.
The Trick to Crispy Skin
When it comes to roasting turkey parts, achieving crispy skin is a game-changer. The secret lies in the preparation method. To get that coveted golden brown color and irresistible crunch, there are two crucial steps: drying out the skin and adding a layer of softened butter.
Before baking, it’s important to allow the skin to dry out slightly. This can be easily achieved by placing the turkey parts in the refrigerator, uncovered, in a single layer overnight or for several hours. By doing so, you create the perfect conditions for the skin to crisp up beautifully during cooking.
As the turkey parts are ready to go in the oven, take it up a notch by spreading a layer of softened butter over the dried-out skin. This simple technique not only adds richness and flavor but also helps to enhance the golden brown color and achieve ultimate crispiness. The softened butter acts as a sealant, sealing in moisture and ensuring that the skin gets crispy without drying out completely.
With this trick up your sleeve, your roasted turkey parts will not only be succulent and juicy on the inside but also boast that irresistible crispy skin on the outside. The combination of crispy skin and flavorful meat will undoubtedly elevate your turkey dish to a new level of deliciousness.
Adjusting for Cooking Time and Parts
When it comes to cooking a turkey, uneven cooking can be a common issue. The breast, with its lower fat content and smaller size, tends to cook faster than the dark meat. This can result in overcooked white meat and undercooked dark meat, leaving your meal less enjoyable than expected. However, there is an easy solution to this problem – roasting turkey parts instead of a whole bird.
By roasting separate parts, such as thighs and legs, you can ensure that each piece cooks more quickly and evenly. This is especially beneficial if you have a preference for either dark meat or white meat. You have the flexibility to choose the specific turkey parts you prefer, tailoring your meal to your personal taste.
If you still crave the traditional combination of turkey and stuffing, fear not! You can still enjoy stuffing by placing cracked breast over some of the stuffing while cooking the remaining turkey parts separately, ensuring everything cooks to perfection.
For extra flavor and juiciness, consider adding sliced vegetables to the roasting pan. They not only enhance the overall taste but also provide delicious juices that can be used to make a delectable gravy.
To achieve evenly cooked roast turkey parts and a truly satisfying meal, follow the recipe’s instructions for adjusting the cooking time and selecting the perfect parts. Embrace the versatility of this approach and enjoy a memorable meal with perfectly cooked turkey every time.
Cooking Times and Temperatures
When it comes to cooking turkey parts, achieving the perfect balance of moist and tender meat is essential. The oven temperature plays a significant role in ensuring that the turkey cooks evenly, resulting in a delicious and satisfying meal.
All the turkey parts in this recipe are cooked at a consistent temperature of 350°F (175°C). This temperature allows the meat to cook slowly and retain its natural juices, resulting in moist and tender turkey.
While the oven temperature remains constant, it’s crucial to monitor the internal temperature of the turkey parts to ensure they reach the required doneness. Using an oven temperature probe is highly recommended for accurate measurements.
The cooking time for each turkey part may vary due to differences in size and fat content. The breast usually takes longer to cook than the darker parts. By monitoring the internal temperature, each part can be taken out of the oven at the right time to prevent overcooking and maintain optimal tenderness.
Internal Temperature Guide:
- Turkey Breast: Cook until the internal temperature reaches 165°F (74°C) for safe consumption.
- Turkey Thighs and Legs: These darker parts require an internal temperature of 175°F (79°C) for ideal tenderness.
By following the recommended oven temperature, monitoring the internal temperature, and adjusting the cooking time accordingly, you can ensure that each turkey part is perfectly cooked, resulting in moist and tender meat that will delight your taste buds.
Making Gravy and Serving Suggestions
After roasting the delicious turkey parts, don’t let those savory drippings go to waste! Use them to make a flavorful gravy that will take your meal to the next level. Simply collect the drippings from the roasting pan and strain out any solids. In a saucepan, melt some butter and whisk in the drippings, along with a sprinkle of flour to thicken the gravy. Season with salt and pepper to taste, and let it simmer until it reaches the desired consistency.
Once the gravy is ready, it’s time to think about the perfect serving suggestions. While this recipe pairs beautifully with traditional Thanksgiving sides such as mashed potatoes, cranberry sauce, and green bean casserole, don’t be afraid to get creative and try something different. Serve the roasted turkey parts alongside roasted Brussels sprouts tossed with bacon, or a colorful quinoa salad for a lighter option. The versatility of this recipe allows you to tailor the accompaniments to your personal preferences and the seasonal availability of ingredients.
Ingredients and Preparation
Preparing the perfect turkey with crispy skin and flavorful meat requires the right combination of ingredients and careful preparation. Here’s what you’ll need:
- Kosher salt
- Black pepper
- Garlic powder
- Dried thyme
- Sage
- Paprika
- Butter
To create a tasty spice rub, combine kosher salt, black pepper, garlic powder, dried thyme, sage, and paprika in a bowl. Adjust the quantities based on your personal taste preferences. This spice rub will infuse the turkey parts with a burst of flavor while enhancing the natural taste of the meat.
Before baking, prepare the turkey parts by drying out the skin for a crispy texture. Refrigerate the parts, uncovered, in a single layer overnight or for several hours. This helps to remove excess moisture and promotes the desired crispness of the skin.
Just before baking, take the dried-out turkey parts and spread a layer of softened or melted butter over the skin. This step not only adds richness to the flavor but also helps achieve a beautiful golden brown color. The butter allows the skin to crisp up while keeping the meat moist and tender.
Follow these simple steps to prepare your turkey with the perfect spice rub and butter coating for a delicious and visually appealing result.

Buying and Serving Sizes
When it comes to turkey parts, the size of the pieces may vary depending on the time of year. Leading up to Thanksgiving, you’ll find larger portions available, perfect for feeding a crowd. However, throughout the year, you can also find smaller turkey parts that are suitable for smaller households or individual meals.
When planning your servings, a good rule of thumb is to estimate two servings per pound of bone-in turkey. This serving size can be adjusted according to personal preferences and appetite. If you’re a fan of hearty portions, you may want to consider going for a bit more.
One of the benefits of cooking turkey parts is the opportunity for delicious leftovers. Leftover turkey can be enjoyed in various ways, whether it’s making sandwiches, salads, or incorporating it into your favorite recipes. It freezes well, so you can enjoy the taste of turkey even after the holiday season.
To get a visual idea of the serving sizes, take a look at the table below:
- Turkey Drumsticks – 1 drumstick per serving
- Turkey Thighs – 1 thigh per serving
- Turkey Wings – 1 wing per serving
- Turkey Breast – 1/2 pound per serving
The serving sizes mentioned above are approximate and can vary based on personal preference and the size of the turkey parts. Feel free to adjust the quantities to suit your needs.
Dry Brine vs. Wet Brine Comparison
When it comes to brining your turkey parts, there are two popular methods to consider: dry brine and wet brine. Let’s compare the two and see which one is best for you.
Dry Brine: More Flavor, Less Mess
The dry brine method used in this recipe offers incredible flavor without the hassle of a wet brine. Instead of submerging your turkey parts in a liquid brining solution, you’ll apply a delicious spice rub, which locks in flavor and moisture.
Not only does the dry brine method enhance the taste of your turkey, but it also eliminates the mess associated with a wet brine. Say goodbye to handling a large container of brine and dealing with the cleanup afterwards.
Locking in Flavor and Moisture
By applying the dry brine spice rub to your turkey parts, you ensure that the flavors penetrate deeply into the meat, resulting in a flavorful and succulent outcome. The salt in the dry brine acts as a natural tenderizer and brings out the natural juices of the turkey.
Dry brining also helps to retain moisture in the meat, preventing it from drying out during the cooking process. The salt in the spice rub draws out moisture from the turkey initially, creating a concentrated brine that is reabsorbed back into the meat. This process enhances both the flavor and juiciness of the turkey parts.
No Liquid Brining Solution Required
The dry brine method eliminates the need for a liquid brining solution, saving you time and effort. Instead of preparing and handling a large volume of liquid, you simply apply the spice rub directly to the turkey parts. This convenient and efficient process ensures flavorful results without the extra steps involved in wet brining.
So, if you’re looking for a method with maximum flavor and minimum mess, the dry brine is the way to go!
Achieving Crispy Skin with Dry Method
The key to achieving crispy skin on your roasted turkey parts lies in the dry method. By allowing the skin to dry out slightly before baking, you can create a texture that is delightfully crispy. To further enhance the golden brown color and overall crispiness, a layer of softened butter is spread over the dried-out skin. This simple step not only adds extra flavor but also enhances the visual appeal of the roasted turkey.
So how do you go about implementing the dry method? It’s simple. Once you have your turkey parts ready, refrigerate them overnight or for several hours, uncovered, in a single layer. This allows the skin to dry out, which is the key to achieving that coveted crispy texture. Just before baking, spread a layer of softened butter over the dried-out skin. The butter helps to seal in moisture, resulting in a succulent and juicy interior, while also giving the skin that beautiful golden brown color.
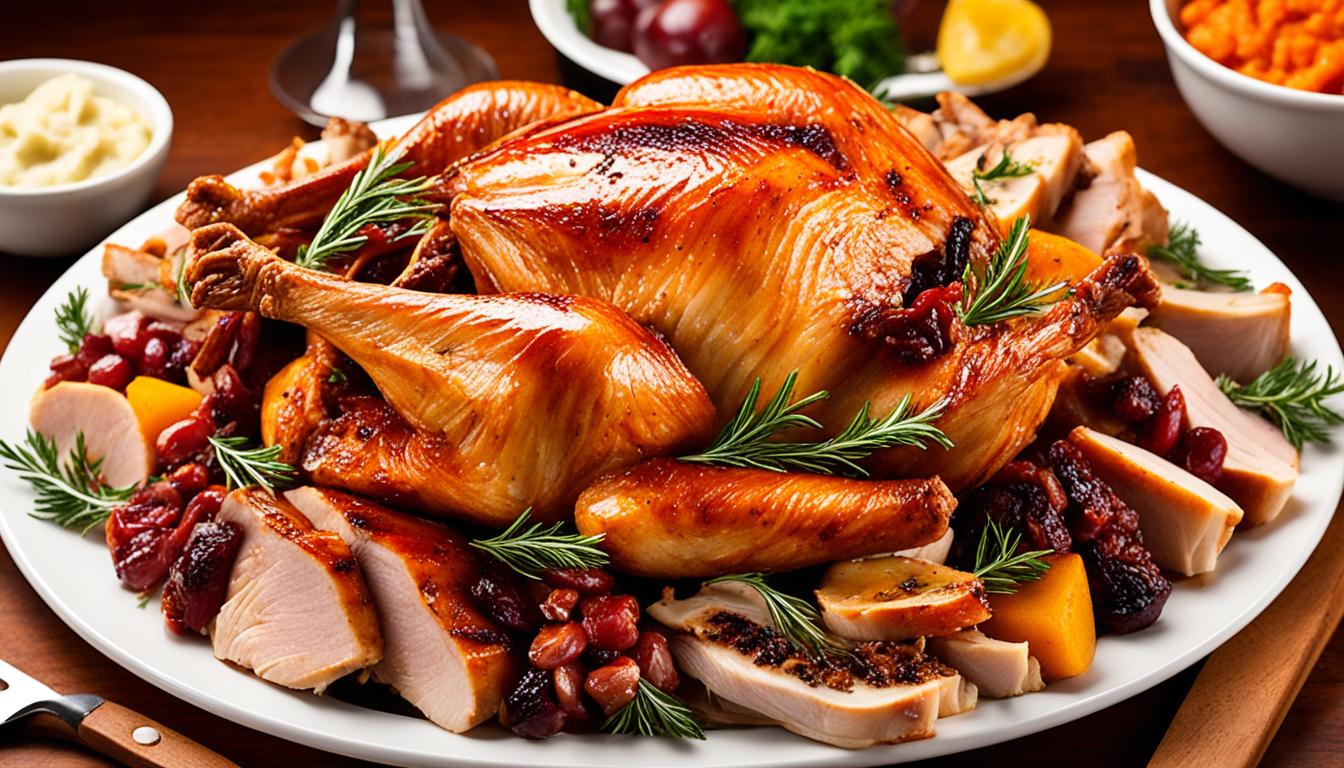
Picture the scene: a platter of perfectly roasted turkey parts, with their crispy skin glistening and golden. The aroma wafts through the air, inviting your guests to dig in. With each bite, they experience the satisfying crunch of the skin, followed by the tender and flavorful meat underneath. It’s a true delight for the taste buds, and your guests will marvel at the skill and expertise you’ve demonstrated in achieving such a masterpiece.
But it’s not just about the visual and textural appeal. The crispy skin adds another layer of flavor to the turkey, creating a harmonious balance with the juicy meat. It’s the perfect combination of textures and tastes that will have everyone at your table reaching for second helpings.
Next time you’re preparing turkey parts, remember the power of the dry method. Let the skin dry out slightly, spread on some softened butter, and enjoy the rewards of a beautifully crispy and flavorful roasted turkey.
Roasting Different Parts for Even Cooking
When it comes to cooking a turkey, roasting different parts separately is the secret to achieving even cooking and ensuring that both the dark and white meat are perfectly done. By cooking the breast, thighs, and legs separately, each part can be cooked to reach the desired level of doneness, avoiding the common problem of overcooked white meat or undercooked dark meat.
To ensure even cooking, stagger the start times of each turkey part and leave enough space around each piece on the roasting pan. This allows for proper heat circulation and ensures that all parts roast evenly, resulting in delicious, tender meat.
Roasting turkey parts individually also gives you more control over the cooking process and allows you to tailor the cooking time to each specific part. This way, you can have tender white meat with a slightly longer cooking time while still achieving juicy, succulent dark meat with a shorter cooking time.
Whether you prefer the rich flavor of dark meat or the milder taste of white meat, roasting different parts of the turkey is the perfect solution to ensure that every bite is cooked to perfection. Say goodbye to dry, overcooked turkey and hello to a delicious, evenly cooked turkey feast!