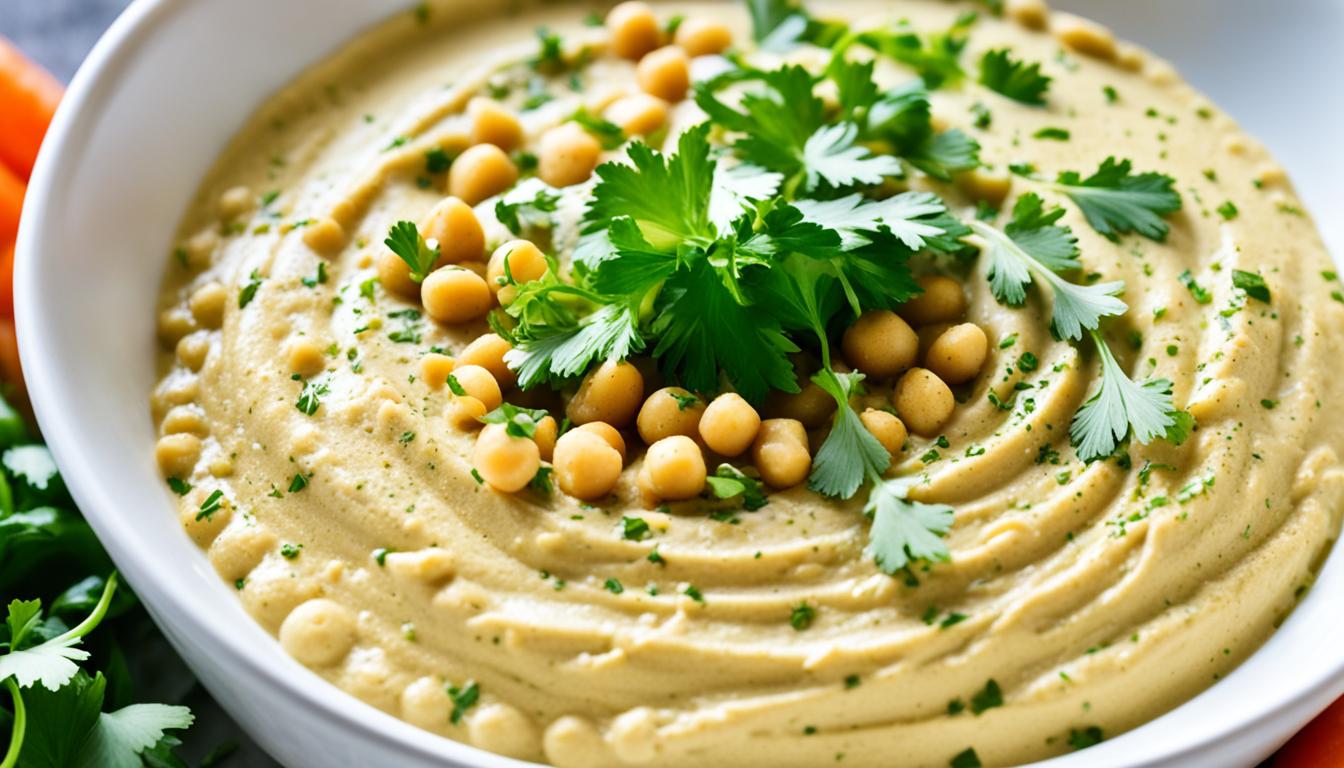
Are you looking for a homemade hummus recipe that is not only delicious but also packed with nutrients? Look no further! We have a game-changing solution for you: sprouted chickpea hummus. Yes, you heard it right! By sprouting the chickpeas, we magnify their vitamin and mineral content, making this hummus recipe incredibly healthy.
Now, you must be wondering, why sprouted chickpeas? Well, sprouting chickpeas not only enhances their nutritional value but also improves the quality of their carbs and protein. But that’s not all! The sprouting process also neutralizes anti-nutrients and enzyme inhibitors, making the sprouted chickpeas easy to digest while ensuring highly absorbable nutrients.
But wait, there’s more! Sprouts are not only low in calories but also incredibly filling. This is due to their high fiber and water content, making sprouted chickpea hummus a guilt-free treat that will keep you satisfied for hours. And the best part? Making this healthy hummus from sprouted chickpeas is a quick and easy process, taking less than 10 minutes from start to finish after the sprouting process is complete.
Key Takeaways:
- Sprouted chickpea hummus is not only delicious but also packed with nutrients.
- Sprouting chickpeas magnifies their vitamin and mineral content.
- The sprouting process makes chickpeas easier to digest and nutrients more absorbable.
- Sprouts are low in calories but filling due to their high fiber and water content.
- Making sprouted chickpea hummus is quick and easy, taking less than 10 minutes.
The Benefits of Sprouting Chickpeas
Sprouting chickpeas for hummus has numerous benefits. Not cooking the chickpeas after sprouting preserves their nutritional value and increases their vitamin and mineral content. The sprouted chickpeas are easier to digest and the nutrients are highly absorbable. Sprouts are also low in calories but provide a feeling of fullness due to their high fiber and water content. Sprouting chickpeas simplifies the process of making hummus from scratch, with the hummus ready to be served in under 10 minutes.
Enhanced Nutritional Value
When sprouting chickpeas, their nutritional value is maximized. Sprouting activates enzymes, which facilitates the breakdown of complex carbohydrates, proteins, and fats, making them easier for our bodies to absorb. The levels of essential vitamins and minerals, such as vitamin C, vitamin B, iron, and potassium, also increase during the sprouting process.
Improved Digestibility
Sprouted chickpeas are more digestible compared to their unsprouted counterparts. The sprouting process reduces the levels of anti-nutrients, such as phytic acid and enzyme inhibitors, that can hinder nutrient absorption and contribute to digestive discomfort. As a result, individuals with sensitive digestive systems or dietary restrictions can enjoy sprouted chickpea hummus without experiencing any adverse effects.
Weight Management and Satiety
If you’re looking to maintain a healthy weight or improve portion control, sprouts are an excellent addition to your diet. Sprouted chickpea hummus provides a satisfying snack or meal component that is low in calories but rich in fiber and water content. The combination of these elements promotes feelings of fullness and aids in weight management, making it a valuable addition to a balanced diet.
Overall, sprouting chickpeas for hummus offers a range of benefits, from increased nutritional value and improved digestibility to weight management support. By incorporating sprouted chickpeas into your homemade hummus recipe, you can enjoy a nutritious and delicious dip or spread that can be prepared in no time.
How to Sprout Chickpeas
Sprouting chickpeas is a simple process that requires a few steps. By sprouting chickpeas, you can unlock their nutritional potential and enhance the flavor of your homemade hummus. Here’s how to do it:
- Rinse the chickpeas: Start by rinsing the dried chickpeas under cold running water. This helps remove any dirt or debris.
- Place in a sprouting container: Transfer the rinsed chickpeas to a sprouting container or jar. Make sure there’s enough room for the chickpeas to expand as they sprout.
- Rinse and drain: Twice a day, rinse the chickpeas with cold water and drain them. This helps keep them moist and aids in the sprouting process.
- Repeat for 3 to 5 days: Continue rinsing and draining the chickpeas for 3 to 5 days, or until they have sprouted to the desired length. The length of the sprouts is a matter of personal preference.
- Final rinse: Once the chickpeas have sprouted, give them one final rinse under cold water to remove any residual sprouting water.
- Blend with ingredients: Now that your chickpeas are sprouted, you’re ready to make fresh sprouted chickpea hummus. Blend the sprouted chickpeas with tahini, lemon juice, olive oil, garlic, salt, and other desired seasonings. This will result in a smooth and creamy homemade hummus.
With these simple steps, you can sprout chickpeas at home and transform them into delicious and nutritious hummus. Sprouting adds an extra level of freshness and health benefits to your homemade hummus, making it an ideal choice for those looking for a wholesome and flavorful snack.
Serving and Storing Sprouted Chickpea Hummus
Once the sprouted chickpea hummus is prepared, it can be served immediately with fresh crudités, tortillas, pita bread, or used as a spread in sandwiches or recipes.
Leftovers can be stored in an airtight container in the refrigerator for up to 5 days. It’s important to note that using a high-speed blender results in a creamier and smoother hummus compared to using a food processor.
Additionally, the hummus should be slightly thinner than the desired texture as it tends to firm up over time. Adding a little water can adjust the thickness if needed.
Enjoy the fresh and healthy sprouted chickpea hummus as a nutritious and delicious dip or spread.
