Canning has long been a cherished tradition, allowing us to capture the vibrant flavors of each season and enjoy them year-round. But have you ever wondered how to can your favorite fruits, vegetables, and preserves? Or perhaps you’re curious about the process behind pickling and preserving with Ball jars? Look no further, because in this comprehensive guide, we’ll take you through all the steps of canning with Ball jars. From the fascinating history of canning to essential materials and equipment, troubleshooting common issues, and mouthwatering recipes, we’ve got you covered. Get ready to embark on a journey of preservation and discover the joy of canning!
Key Takeaways
- Explore the rich history of canning and how it has evolved over the centuries.
- Learn about the essential materials and equipment needed for successful canning with Ball jars.
- Discover the step-by-step process of canning and ensure your jars seal properly.
- Troubleshoot common issues that can arise during the canning process.
- Uncover the benefits of canning with Ball jars and how they enhance the preservation process.
The History of Canning
Canning has a rich history that spans centuries, stemming from the need to preserve food and extend its shelf life. Early preservation techniques included drying, smoking, fermenting, and packing food in fat. However, it wasn’t until the late 1700s that a French cook named Nicolas Appert discovered the revolutionary technique of packing, heating, and sealing food in glass jars. This breakthrough marked the birth of modern canning, and the technique Appert developed is still used today.
Home canning gained popularity in the United States in the late 1850s when the Mason jar, invented by John Landis Mason, made canning more accessible and convenient. The Mason jar’s reusable design allowed home cooks to preserve their own fruits, vegetables, jams, and other delicacies with ease.
Canning techniques continued to evolve, and in 1915, the two-part canning lid was introduced. This revolutionary lid design, which included a separate rubber seal, allowed for a stronger and more reliable seal on the jars. As a result, canned foods could be preserved for longer periods, maintaining their freshness and flavor.
The art of canning may have experienced a decline in popularity during the mid-20th century with the advent of commercially processed foods, but it has recently seen a notable resurgence.
In recent years, canning has experienced a resurgence in popularity. There are several reasons for this resurgence:
- Concerns over food safety: Many people are becoming more conscious of the ingredients and preservatives used in commercially processed foods. By canning their own food, individuals have greater control over the quality and safety of the products they consume.
- Desire for more control: Canning allows individuals to preserve seasonal produce and enjoy the flavors of fresh fruits and vegetables all year round. It also offers the freedom to experiment with unique recipes and create personalized preserves.
- Rediscovering traditional methods: As society strives for sustainability and a connection to heritage, many have turned to canning as a way to preserve age-old traditions and embrace self-sufficiency.
As we rediscover the joys and benefits of canning, let’s embark on a journey through the fascinating history of this preservation technique. From its humble beginnings to its modern-day resurgence, the story of canning is a testament to our enduring desire to savor and enjoy the bounty of nature.
The Evolution of Canning Techniques
| Milestone | Description |
|---|---|
| Late 1700s | Nicolas Appert pioneers the technique of packing, heating, and sealing food in glass jars. |
| Late 1850s | John Landis Mason invents the Mason jar, making home canning more accessible. |
| 1915 | The two-part canning lid, featuring a separate rubber seal, is introduced, ensuring a stronger and more reliable seal. |
Essential Canning Materials and Equipment
To get started with canning, you’ll need a few essential materials and equipment. These canning supplies and tools will ensure a successful and efficient canning process, allowing you to preserve your favorite recipes with ease.
Canning Supplies
- Tongs: These are essential for safely handling hot jars during the canning process.
- Wide-mouth funnel: This tool makes it easy to pour your prepared preserves into the jars without any mess.
- Measuring cups: Accurate ingredient measurements are crucial for maintaining the quality and taste of your canned goods.
- Jar lifter: This tool allows you to safely remove hot jars from boiling water without the risk of burns.
Canning Equipment
- Enamel Dutch oven or deep stockpot: These vessels are ideal for cooking your preserves, ensuring even heat distribution and proper cooking.
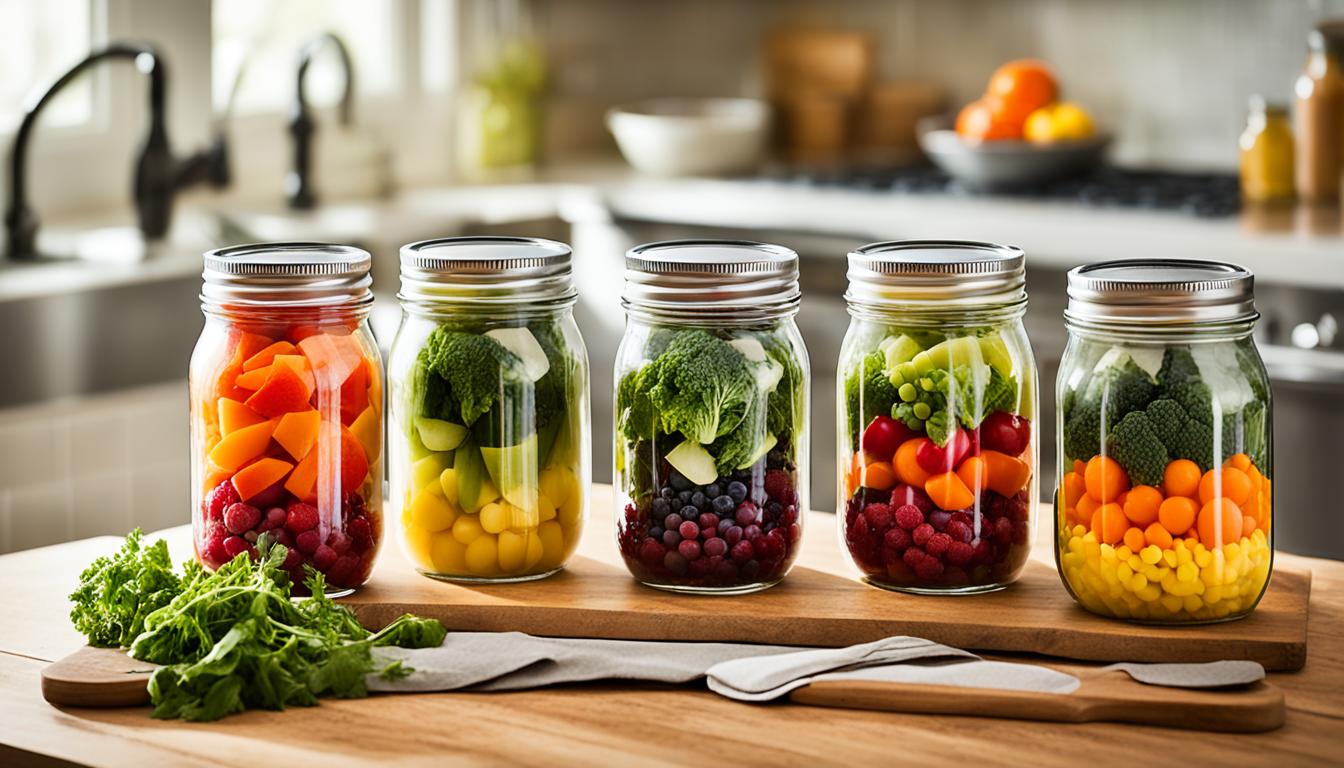
- Ball jars, flat lids, and threaded rings: Ball jars are a popular choice for canning due to their reliability and durability. The flat lids and threaded rings are used to seal the jars during the canning process, ensuring the freshness and longevity of your preserved food.
All of these canning supplies and equipment mentioned above are widely available and can be easily found at your local grocery store or online. Make sure to gather all the necessary tools before you start your canning journey to ensure a smooth and successful process.

Capturing the essence of canning supplies, this image showcases a variety of essential tools and materials needed for a successful canning experience. From the sturdy Ball jars to the precise measuring cups and practical tongs, each item plays a crucial role in the art of canning.
The Process of Canning
The process of canning involves several steps that ensure the safe and effective preservation of your food. Here’s a detailed breakdown of each step:
- Choose a recipe: Start by selecting a canning recipe from a reliable source. Look for recipes that have been tested and approved for canning to ensure food safety.
- Gather your ingredients: Collect all the necessary ingredients listed in the recipe. Ensuring that you have high-quality, fresh ingredients is crucial for the best results.
- Sterilize the jars: Prepare your jars by washing them in hot, soapy water and rinsing them thoroughly. Then, place the jars in a large pot filled with boiling water and boil them for the recommended time to sterilize them.
- Heat the lids: Submerge the flat lids in a small pot of simmering water to soften the sealing compound.
- Prepare the food: Follow the recipe instructions to prepare the food for canning. This may involve chopping, cooking, or mixing ingredients together.
- Fill the jars: Carefully fill each sterilized jar with the prepared food. Leave the appropriate amount of headspace specified in the recipe to allow for expansion during processing.
- Wipe the rims: After filling the jars, use a clean, damp cloth to wipe any food residue from the rim of each jar. This ensures a proper seal.
- Apply the lids and bands: Place a heated lid on top of each jar and screw on the corresponding band until it is fingertip-tight. Avoid overtightening, as it can prevent proper sealing.
- Process in boiling water: Submerge the filled and sealed jars in a large pot of boiling water. The processing time will vary depending on the recipe, so refer to the instructions. This step helps to kill any bacteria and create a vacuum seal.
- Cool and check the seals: Once the processing time is complete, carefully remove the jars from the boiling water bath and place them on a towel-lined countertop to cool. As the jars cool, you’ll hear a satisfying “ping” sound, indicating that the lids have sealed properly.

Canning is a precise and rewarding process that allows you to preserve the flavors of seasonal produce and enjoy them throughout the year. By following these steps, you can confidently prepare and store your homemade canned goods.
Troubleshooting Common Canning Issues
While canning is a relatively straightforward process, there are some common issues that can arise. It’s essential to address these issues to ensure the successful preservation of your food. In this section, we will discuss two common problems that can occur during the canning process: jars not sealing properly and siphoning.
1. Jars Not Sealing Properly
One of the most common issues that can occur during canning is jars not sealing properly. A failed seal can lead to spoilage and loss of your preserved food. There are several reasons why a jar may not seal properly:
- Product on the rim of the jar: Any food residue or grease on the rim of the jar can prevent a proper seal. Make sure to clean the rim thoroughly before applying the lid.
- Improperly softened sealing compound: If the sealing compound on the lid has not softened sufficiently during the canning process, it may not create a tight seal. Make sure to follow the manufacturer’s instructions for preparing the lids.
- Insufficient heat in the jar: Inadequate heat can prevent the sealing compound from properly adhering to the jar’s rim. Ensure that your canner maintains the correct temperature throughout the entire process.
To prevent these issues and ensure proper sealing, follow these tips:
- Thoroughly clean the rim of the jar before applying the lid.
- Use fresh lids and rings for each batch of canning, as the sealing compound can degrade over time.
- Properly heat your jars and lids before filling them with the prepared food.
- Follow the recommended processing time and temperature for your specific recipe.
By taking these precautions, you can increase the likelihood of a successful seal and prolong the shelf life of your canned goods.
2. Siphoning
Siphoning is another common issue that can occur during the canning process. It happens when a hot jar of food rapidly cools down, causing the content to be forced out of the jar. This can result in a loss of liquid or a change in the overall appearance of the preserved food.
To prevent siphoning, follow these tips:
- Remove trapped air bubbles: Before applying the lids, run a non-metallic spatula or bubble remover around the inside of the jar to release any trapped air bubbles.
- Allow jars to sit before removing them from the canner: After processing, let the jars sit undisturbed in the canner for a few minutes before removing them. This allows the temperature to stabilize and reduces the risk of rapid cooling.
- Follow proper canning techniques: Ensure you are filling the jars with the correct amount of headspace and applying the lids tightly according to the recipe instructions.
Following these steps can help prevent siphoning and preserve the quality of your canned goods.

The Benefits of Canning with Ball Jars
When it comes to preserving your favorite foods, canning with Ball jars offers numerous benefits that make it a popular choice among home canners. From their durability and reusable nature to their versatile usage in various canning recipes, Ball jars provide an excellent solution for long-term food preservation.
One of the key benefits of canning with Ball jars is their durability and reusability. Unlike single-use containers, Ball jars are made to withstand the rigors of canning. They are crafted from high-quality glass that can withstand high temperatures during the canning process, ensuring that your preserved foods are safe and well-preserved for extended periods. The reusable nature of Ball jars also means less waste, making them an environmentally friendly choice.
Another advantage of canning with Ball jars is their ability to create a reliable airtight seal. The two-part canning lid, consisting of a flat lid and a threaded ring, works together to create a tight seal that prevents air and contaminants from entering the jars. This seal is crucial for long-term preservation, as it keeps your canned goods fresh, flavorful, and safe to consume.
Additionally, Ball jars are incredibly versatile and can be used for a wide range of canning recipes. Whether you’re making relishes, pickles, jams, jellies, or even soups and sauces, Ball jars can accommodate a variety of delicious creations. Their wide-mouth design makes them easy to fill and clean, and they come in different sizes to suit your canning needs.
The Benefits of Canning with Ball Jars:
- Durable and reusable, reducing waste
- Create a reliable airtight seal for long-term preservation
- Versatile usage in various canning recipes
By using Ball jars for canning, you can enjoy the fresh flavors of seasonal produce year-round. Whether you’re stocking up on summer peaches, fall apples, or winter soups, Ball jars provide a convenient and reliable method for preserving the taste of each season.
| Benefits | Details |
|---|---|
| Durable and Reusable | Ball jars are made from high-quality glass that can withstand high temperatures. Their reusable nature reduces waste. |
| Airtight Seal | Ball jars create a tight seal that keeps air and contaminants out, ensuring the long-term preservation of your canned goods. |
| Versatile Usage | Ball jars can be used for a variety of canning recipes, from relishes and pickles to jams and jellies. |
Delicious Ball Jar Canning Recipes
Explore the world of canning with these delicious Ball jar canning recipes. From classic dill pickles to tangy strawberry jam, these recipes will help you make the most of your canning experience. Try your hand at pickled vegetables, fruity preserves, or even homemade salsa. The options are endless when it comes to canning with Ball jars, and these recipes will inspire you to get creative in the kitchen.
Dill Pickles Recipe
If you’re a fan of crunchy, tangy pickles, this dill pickles recipe is a must-try. These homemade pickles are packed with flavor and are perfect for snacking, adding to sandwiches, or serving alongside your favorite meals.
- Ingredients:
- 4 cups cucumbers, sliced
- 2 cups water
- 1 cup white vinegar
- 2 tablespoons pickling salt
- 4 garlic cloves, crushed
- 2 teaspoons dill seeds
- 1 teaspoon mustard seeds
- In a saucepan, combine water, vinegar, pickling salt, garlic cloves, dill seeds, and mustard seeds. Bring to a boil and stir until the salt is dissolved.
- Place cucumber slices in clean Ball jars. Pour the hot brine over the cucumbers, making sure they are completely submerged.
- Wipe the rims of the jars, apply the lids, and screw on the bands.
- Process the jars in a boiling water bath for 10 minutes.
- Remove the jars from the water bath and let them cool completely. Check the seals before storing.
Strawberry Jam Recipe
Indulge in the sweet and fruity flavors of homemade strawberry jam. Spread this delightful jam on toast, scones, or use it as a topping for pancakes and ice cream.
- Ingredients:
- 4 cups strawberries, hulled and chopped
- 3 cups granulated sugar
- 1/4 cup lemon juice
- In a large saucepan, combine strawberries, sugar, and lemon juice. Let the mixture sit for 1 hour to allow the sugar to dissolve.
- Bring the mixture to a boil over medium-high heat, stirring regularly.
- Reduce the heat and simmer for 20-25 minutes until the jam thickens.
- Spoon the hot jam into clean Ball jars, leaving 1/4-inch headspace.
- Wipe the rims of the jars, apply the lids, and screw on the bands.
- Process the jars in a boiling water bath for 10 minutes.
- Remove the jars from the water bath and let them cool completely. Check the seals before storing.
Whether you’re preserving the crispness of cucumbers or capturing the essence of fresh strawberries, these Ball jar canning recipes will take your culinary skills to new heights. Experiment with different flavors, fruits, and vegetables to create unique preserves that will impress your friends and family. Enjoy the rewards of your canning efforts long after the harvest season has passed.
Safety Tips for Canning
Safety is of utmost importance when it comes to canning. We want to ensure that your canning experience is not only enjoyable but also safe for you and your loved ones. By following these safety tips, you can confidently preserve your food while minimizing the risk of contamination and accidents.
1. Use Reliable Recipes and Trusted Sources
When it comes to canning, always rely on recipes from trusted sources. Look for reputable canning guides, cookbooks, or websites that provide proven recipes and safe canning techniques. This will help you avoid any potential food safety issues and ensure that your canned goods are shelf-stable and enjoyable to consume.
2. Follow Proper Canning Techniques
Proper canning techniques are crucial for maintaining the integrity of your preserved foods. Follow the recommended processing times, headspace measurements, and temperature guidelines specified in your chosen recipe. This will ensure that your canned goods are adequately processed, free from harmful bacteria, and safe for consumption.
3. Sterilize Jars and Equipment
Prior to canning, it’s essential to sterilize your jars and equipment to eliminate any potential contaminants. Wash your jars, lids, and bands in hot, soapy water, and rinse them thoroughly. Then, submerge the jars in boiling water for a designated amount of time, or follow the sterilization instructions specific to your canning equipment. This step is crucial for preventing bacterial growth and maintaining the quality of your canned foods.
4. Handle Hot Jars and Boiling Water with Caution
During the canning process, you’ll be working with hot jars and boiling water. To prevent burns or accidents, use jar lifters or tongs to handle hot jars. Avoid touching the jar rims or pouring hot liquids directly into the jars to minimize the risk of injury. Similarly, use caution when working with boiling water and ensure a safe working environment to prevent accidents.
5. Store Canned Goods Properly
After your canning process is complete, it’s important to store your canned goods properly. Store them in a cool, dark place away from direct sunlight and extreme temperatures. Make sure to remove the bands from the jars and check the seals periodically to ensure they remain intact. With proper storage, your canned goods can last up to a year while maintaining their flavor and quality.
By prioritizing safety and following these canning tips, you can enjoy the benefits of canning, such as creating delicious preserved foods and reducing food waste, while ensuring the safety of your family and friends.
Essential Safety Equipment for Canning
| Equipment | Description |
|---|---|
| Tongs or Jar Lifters | To safely handle hot jars without touching the rims or lids |
| Wide-Mouth Funnel | For easy and mess-free pouring of liquids into jars |
| Measuring Cups | To accurately measure ingredients for your canning recipes |
| Boiling Water Canner or Stockpot | For submerging filled jars in boiling water for processing |
| Thermometer | To ensure accurate temperature readings during the canning process |
| Canning Jar Lids and Bands | To create an airtight seal on the jars |
Storing Canned Goods
Proper storage is crucial for maintaining the quality and safety of your canned goods. To ensure the longevity of your preserved foods, follow these proper storage techniques:
- Store your jars in a cool, dark place to avoid exposure to direct sunlight and extreme temperatures.
- Remove the bands from the jars once they have cooled to prevent rust and potential contamination.
- Periodically check the seals on your canned goods to ensure they remain intact and airtight.
By adhering to these storing canned goods practices, you can enjoy the flavors of your homemade preserves throughout the seasons.
Canning for Beginners
If you’re new to canning, don’t be intimidated! Canning is a rewarding and accessible way to preserve food. Start by gathering the necessary materials and equipment, choose a reliable recipe, and follow the steps of the canning process. Take your time, and remember that practice makes perfect. With each canning batch, you’ll become more confident in your abilities and enjoy the experience of preserving your favorite foods.
Canning Resources and References
Embarking on a canning journey can be both exciting and overwhelming. Thankfully, there is a wealth of resources available to help you navigate the world of canning and discover new preserving techniques. Whether you’re a beginner looking for step-by-step instructions or an experienced canner searching for new ball jar recipes, these resources will be invaluable in your canning endeavors.
When it comes to reliable recipes and information on canning techniques, two websites stand out: Ball’s official website and the National Center for Home Food Preservation. Ball’s website offers a wide range of canning recipes, covering everything from pickles to jams, while also providing helpful tips and tricks for successful canning. The National Center for Home Food Preservation, on the other hand, is a trusted source for evidence-based recommendations regarding preserving techniques, safety guidelines, and research-based recipes.
For those who prefer learning from cookbooks, there are plenty of titles that focus on canning and preserving. One popular resource is “The All New Ball Book of Canning and Preserving,” which features over 350 enticing recipes along with detailed instructions for canning success. Another trusted source is Serious Eats, a reputable food website that offers comprehensive guides, informative articles, and tested canning recipes that are sure to inspire your culinary creativity.
Explore these canning resources and references to expand your knowledge and find inspiration for your next canning adventure:
- Ball’s official website
- National Center for Home Food Preservation
- “The All New Ball Book of Canning and Preserving”
- Serious Eats
Recommended Cookbooks:
| Cookbook Title | Author | Description |
|---|---|---|
| “The All New Ball Book of Canning and Preserving” | Judi Kingry, Lauren Devine | A comprehensive guide with over 350 recipes and essential tips for successful canning with ball jars. |
| “Canning for a New Generation: Bold, Fresh Flavors for the Modern Pantry” | Liana Krissoff | An inspiring collection of recipes that embraces modern flavor profiles and techniques for preserving various foods. |
| “Preserving with Pomona’s Pectin” | Allison Carroll Duffy | A guide to using natural, low-sugar pectin for preserving fruits and creating delicious jams, jellies, and preserves. |
Whether you choose to dive into online resources or curl up with a cookbook, these canning resources and references will equip you with the knowledge and inspiration you need to create delicious preserved foods with ball jars.
Conclusion
Canning is a rewarding and practical way to preserve food and enjoy fresh flavors year-round. By following this comprehensive canning guide, you have gained the knowledge and inspiration to start your own canning journey using Ball jars. Whether you’re a beginner or an experienced canner, this guide has equipped you with the essential information to successfully preserve your favorite foods.
With the right materials and equipment, such as tongs, wide-mouth funnels, and measuring cups, you can confidently engage in the canning process. Ball jars, known for their durability and airtight seal, are the perfect vessel for preserving a wide variety of recipes, from pickles and jams to relishes and jellies.
Now is the time to gather your supplies, choose a recipe that tantalizes your taste buds, and embark on the journey of preserving the tastes of each season. Get creative in the kitchen, experiment with flavors, and enjoy the satisfaction of having a well-stocked pantry filled with your own homemade goodies. Start canning with Ball jars today and unlock an endless array of flavorful possibilities.